Using Blockly
| Site: | NiryoAcademy |
| Course: | 2 Ned2 working in a shared zone |
| Book: | Using Blockly |
| Printed by: | Guest user |
| Date: | Saturday, 27 June 2026, 3:57 AM |
Create the basics programs
Let's create the program for our small automation setup using two Niryo robots.
We'll build what is commonly referred to as a coordinated dual-robot system. While the term "Master-Slave" is often used, in this case, it's more accurate to say one robot triggers actions on the second robot, rather than fully controlling it. Each robot executes its own program independently, but their actions are synchronized using digital inputs and outputs.
Step 1: Create the master robot program
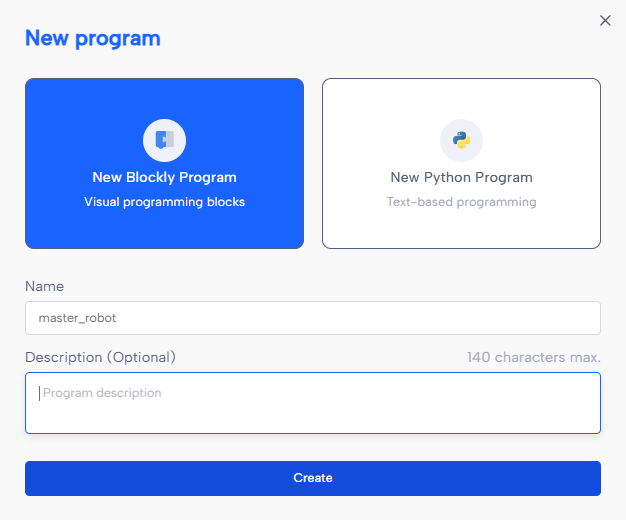
Connect to your first robot (which will act as the "master", the one with the conveyor belt connected) and create a new Blockly program.
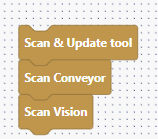
First, scan the tools attached to the master robot to ensure the correct tool is selected:
Then, create the core logic of your program. Here, we will perform a simple pick and place operation : picking an object from a ramp and placing it on a conveyor.
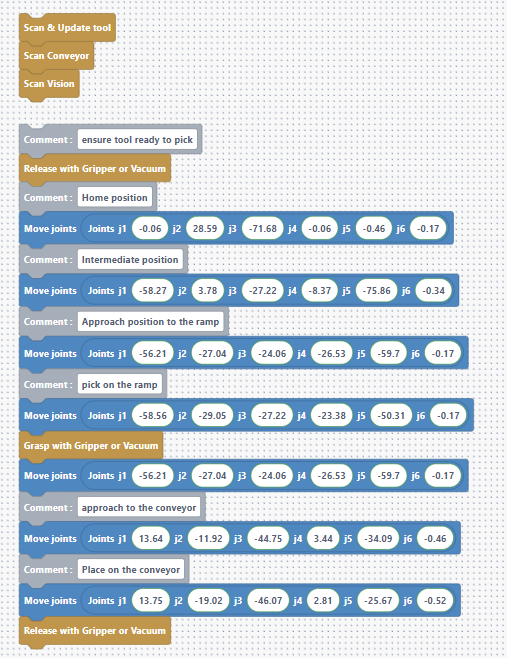
💡 You can already test this program to validate that the first robot performs its actions correctly!
Step 2: Create the slave robot program
Now, connect to the second robot and create a new Blockly program.

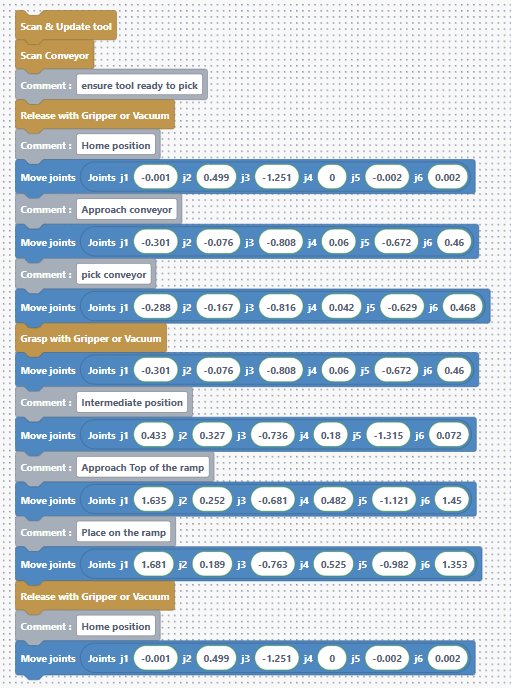
In this program, we end by returning the robot to its Home position. This is important to free up the ramp area, which is shared between the two robots.
🛠 In the next steps, we'll connect both robots using digital I/O so they can communicate and coordinate their actions seamlessly.
Robot communication
Now let's make the two robots communicate so they can coordinate safely when entering a shared space (in our case, the ramp area).
Step 3: Physically connect the robots for communication
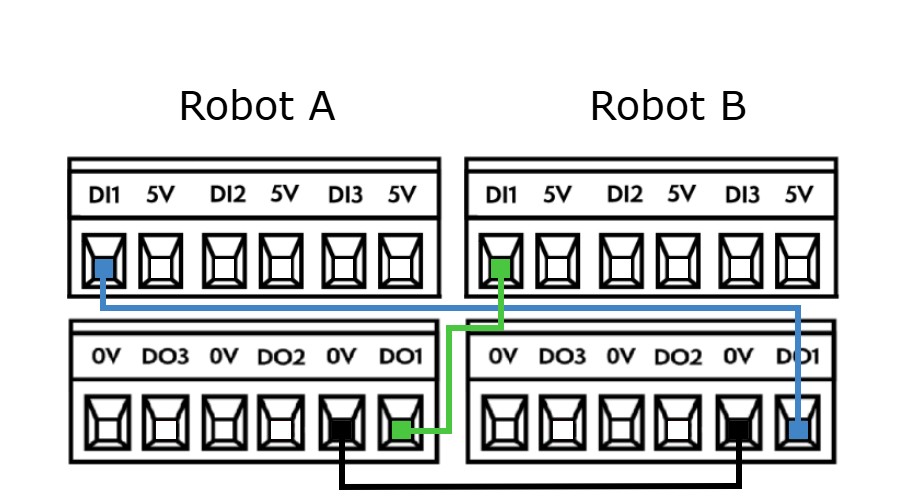
We will use the digital I/O ports located on the back panel of each robot.
To enable communication in both directions, connect the robots as follows:
- DI1 of Robot A → DO1 of Robot B
- DI1 of Robot B → DO1 of Robot A
- GND of Robot A ↔ GND of Robot B (common ground is essential for proper signal transmission)
Step 4: Programming robot communication in Blockly
Now that the robots are wired, let's make them talk! The idea is simple: whenever a robot wants to access the shared zone, it sends a signal to notify the other robot, and waits until the zone is free before moving in.
Here's how it works:
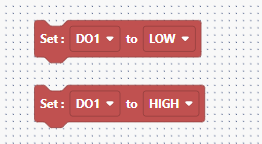
- Before entering the shared zone, the robot sets DO1 to HIGH -> saying "I'm going in."
- Once finished, it sets DO1 back to LOW -> saying "The area is free now."
In Blockly, we use these two blocks to control the output:
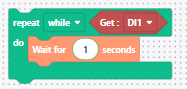
Next, we make sure the robot checks the signal from the other one before entering the shared zone:
- If DI1 is HIGH, the other robot is using the area → wait.
- If DI1 is LOW, the area is free → proceed.
Use this block to wait until the shared area becomes available:
Step 5: Updated programs with communication logic
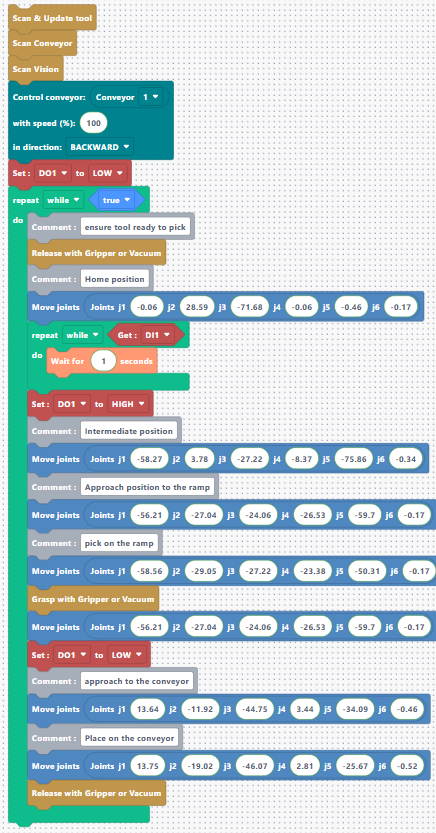
Master robot program
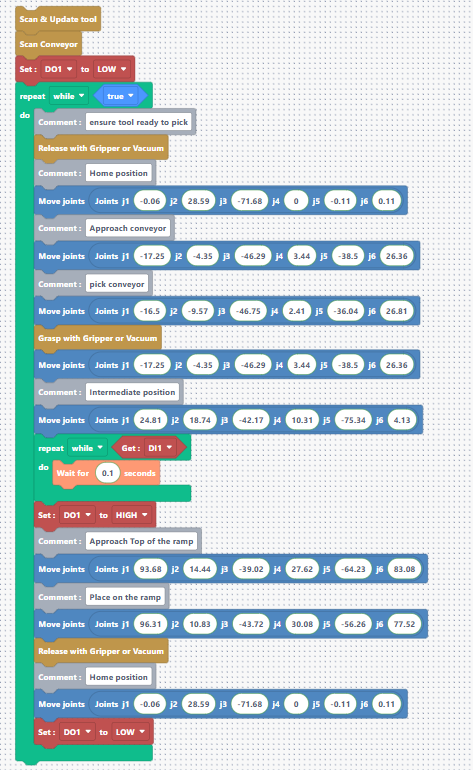
At the start of the program, we set DO1 to LOW to indicate we are not in the shared area. Then, before entering, we wait until DI1 is LOW (area is free), send our "I’m entering" signal (DO1 HIGH), and finally perform the task.
We’ve also added the conveyor activation at the beginning of the program.
Slave robot program
The logic is the same on the second robot. Before entering the shared zone, the robot waits for DI1 to be LOW, then sets DO1 to HIGH, performs its action, and sets DO1 back to LOW once it’s done.
That’s it! Your robots can now coordinate safely and avoid collisions in shared zones using simple digital signals.
Download codes
Download the codes Here.
Run the code
Now that both programs are ready, you have two options to start the automation process.
The simplest way to run the program on both robots without needing two separate computers connected to each robot via NiryoStudio is by using the top button on each robot.
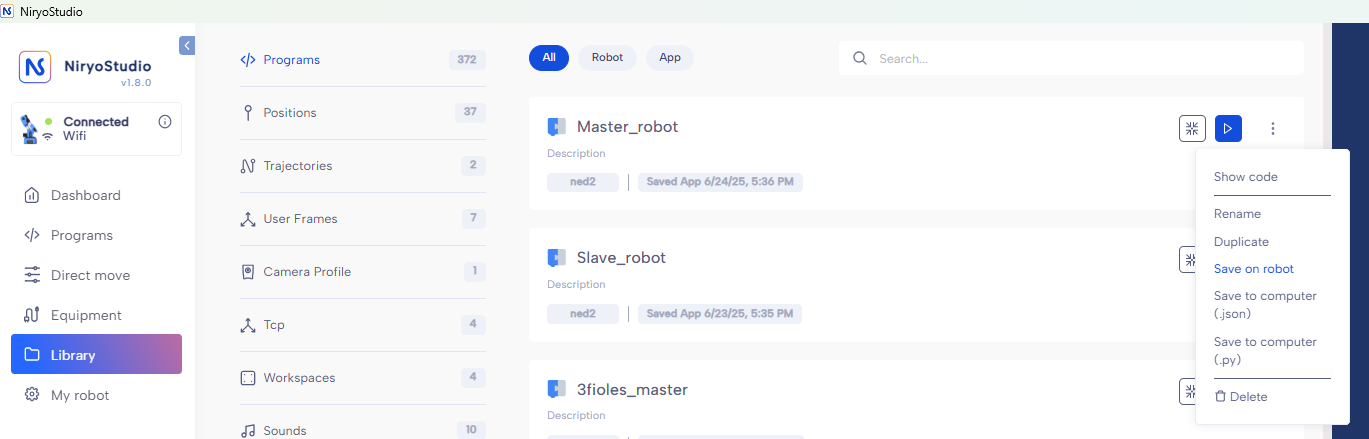
Start by connecting to the first robot (the master) and saving the master program directly onto the robot:
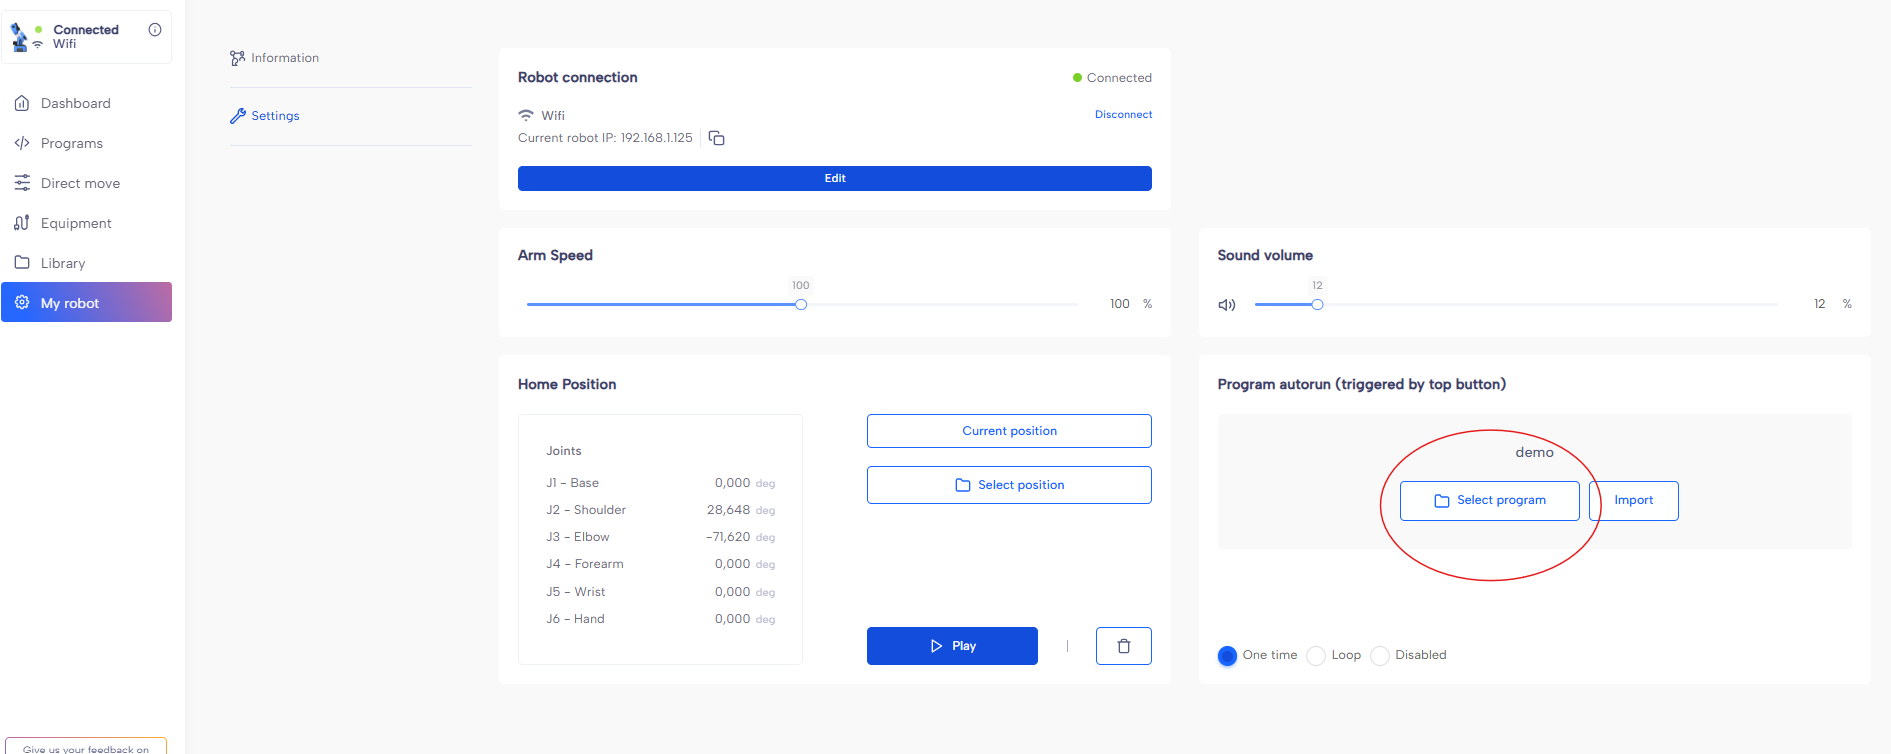
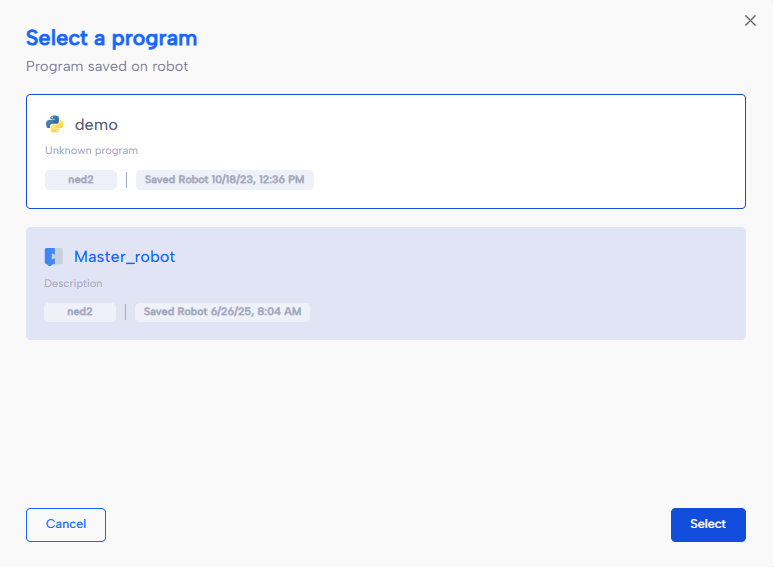
Then, go to My Robot → Settings and set the program to run automatically by selecting it under Program Autorun:
Repeat the same steps for the second robot (the slave).
Once both robots have their programs set up with autorun, simply press the top button on each robot to start the process and watch the result in action!