CAO
Kurse mit 'CAO' markiert
Project Lab: Designing an Autonomous Tool Changer
- Length: 20h
- Content Type: Project
- Programming: Blockly
- Equipment: Bundle STEM
Robotic tool-changing systems have become a key enabler of flexibility and efficiency in industrial automation and robotics. By allowing a single robot to switch between different end-effectors or tools autonomously, these systems reduce downtime, enhance adaptability, and support complex multi-step processes. Inspired by CNC machining centers, modern robotic tool changers incorporate mechanical, electrical, and sometimes pneumatic coupling mechanisms to ensure rapid and reliable transitions.
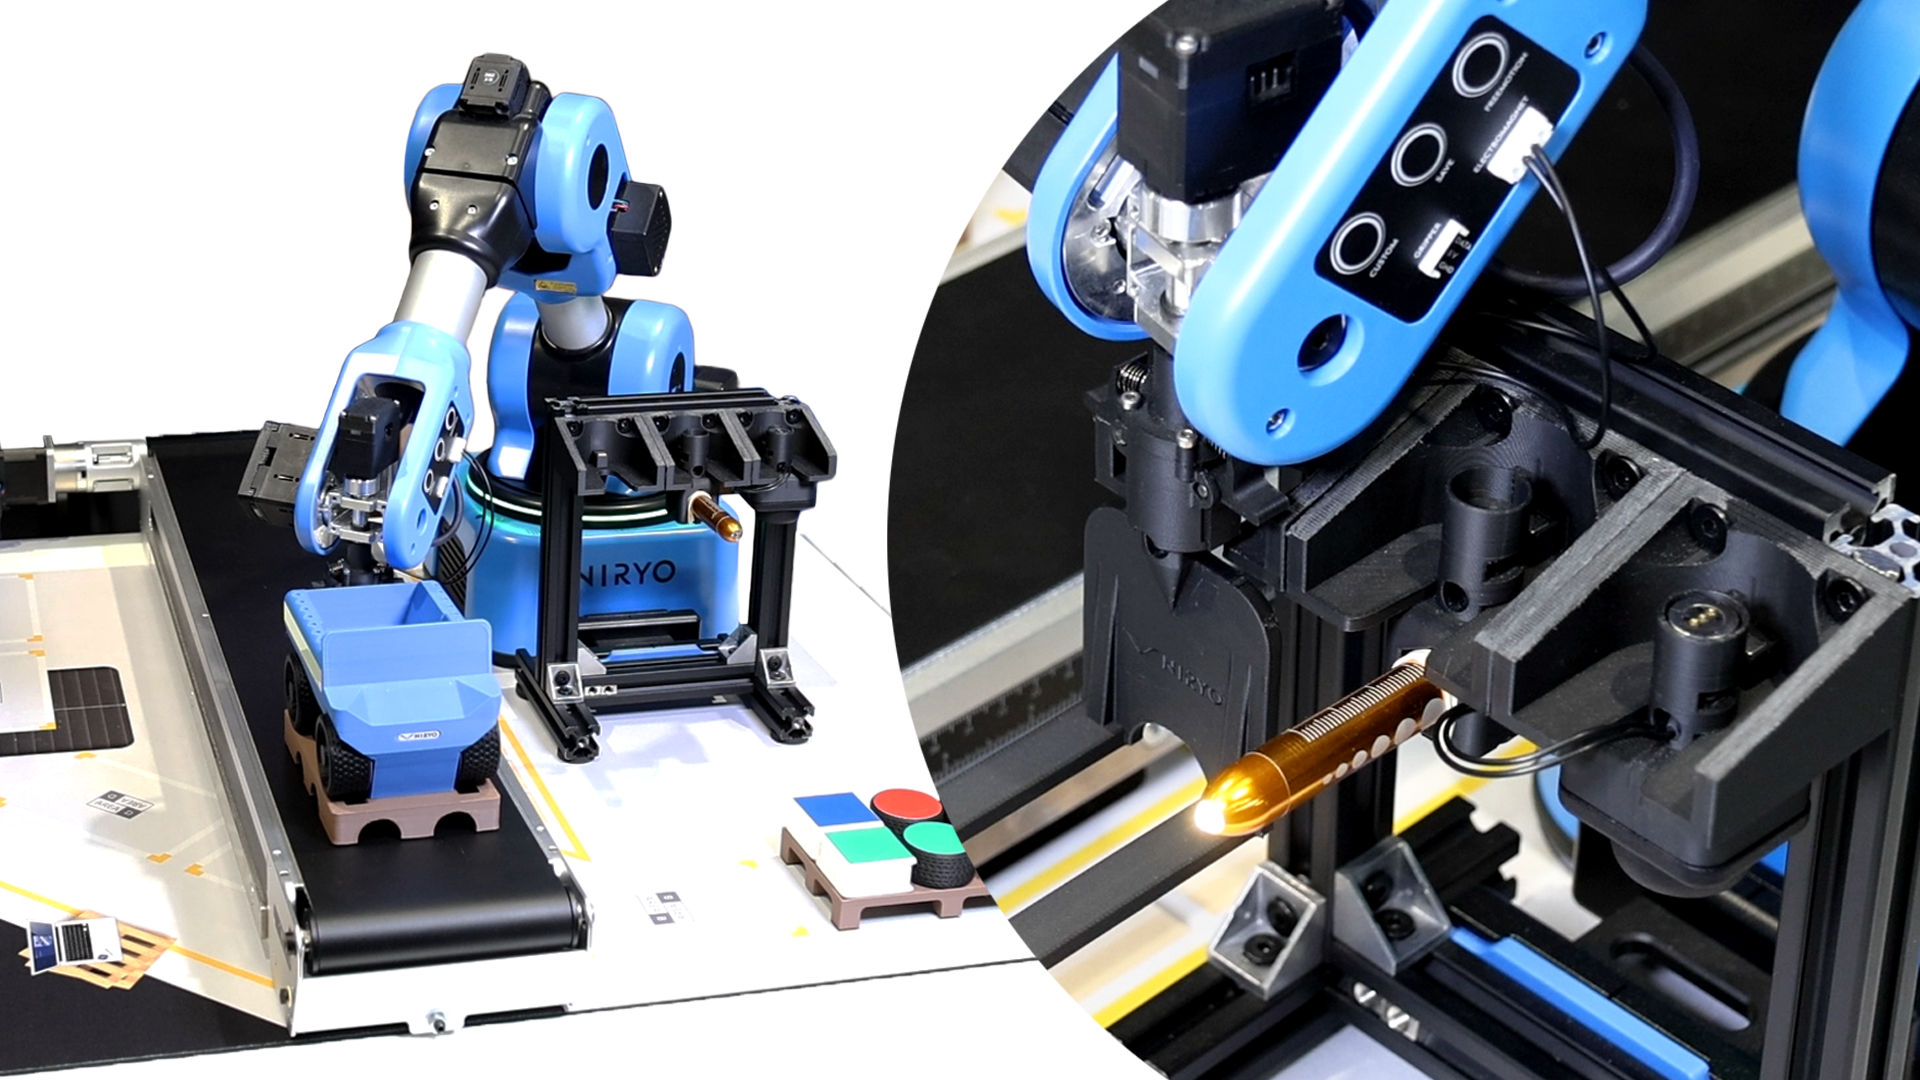
In this project, students will design, assemble, and program a quick tool changer for the Niryo Ned2 robot. The quick tool changer allows the robot to automatically switch between different tools (such as a fork, pen holder, or electromagnet), making it more versatile for automation tasks.
Through a combination of mechanical assembly, electronics, soldering, 3D printing, and programming, students will gain hands-on experience in building a functional robotic accessory from start to finish.
This project bridges mechanical engineering, electronics, and computer science, providing a real-world learning experience similar to industrial robotics integration.
By completing this project, students will:
-
Robotics & Mechatronics
-
Understand the role of quick tool changers in industrial robotics.
-
Learn how to integrate mechanical, electrical, and software systems in a robotic environment.
-
-
Mechanical Skills
-
Assemble mechanical components, including 3D-printed parts and locking mechanisms.
-
Adjust tolerances, orientation, and printing parameters to ensure functional fits.
-
-
Electronics & Wiring
-
Wire and solder connectors (JST, plugs, cables) safely and accurately.
-
Verify electrical connections with a multimeter to prevent short circuits.
-
-
3D Printing & Design
-
Use 3D-printed custom parts (lever, lock, cover, adaptors) in robotic assemblies.
-
Apply design-for-assembly concepts, such as orientation and post-processing (sanding).
-
-
Programming & Control
-
Configure NiryoStudio to recognize and switch tools.
-
Write simple Blockly programs to automate tool changes.
-
-
Problem-Solving & Safety
-
Identify and correct common issues (tolerances, misalignment, electrical errors).
-
Apply safe practices in assembly, wiring, and robot operation.
-
- Eingeschriebene Teilnehmer/innen: 31
Design of special jaws for the Ned2
- Content Type: Lab
- Equipment: Bundle STEM
Scenario
Redesign the custom gripper jaws to hold jars of capsules.
The redesign will be optimized with the objective of minimizing the mass of the jaws while maintaining sufficient rigidity.
Laboratory Contents
Chapter 1 (1h30): Mechanical simulation of the gripper
- Validate the mechanical model
- Configure the model and carry out a static simulation
- Collect simulation results
Chapter 2: Design Optimization (3h)
- Simulate the behavior of the jaw under load
- Optimize the shape of the jaw
- Remodel the jaw
Chapter 3 (3h): Implementation
Prerequisites
Knowledge of mechanical technology: forces, stresses, kinematic links, as well as volume modeling, is preferable.
Required components
 Ned2
Ned2
 NiryoStudio
- CAD software
- Mechanical simulation software
- Topological optimization software
- Eingeschriebene Teilnehmer/innen: 24
Die Kaffee-Herausforderung
- Length: 10h
- Content Type: Project
- Programming: Blockly
- Equipment: Bundle STEM
Szenario
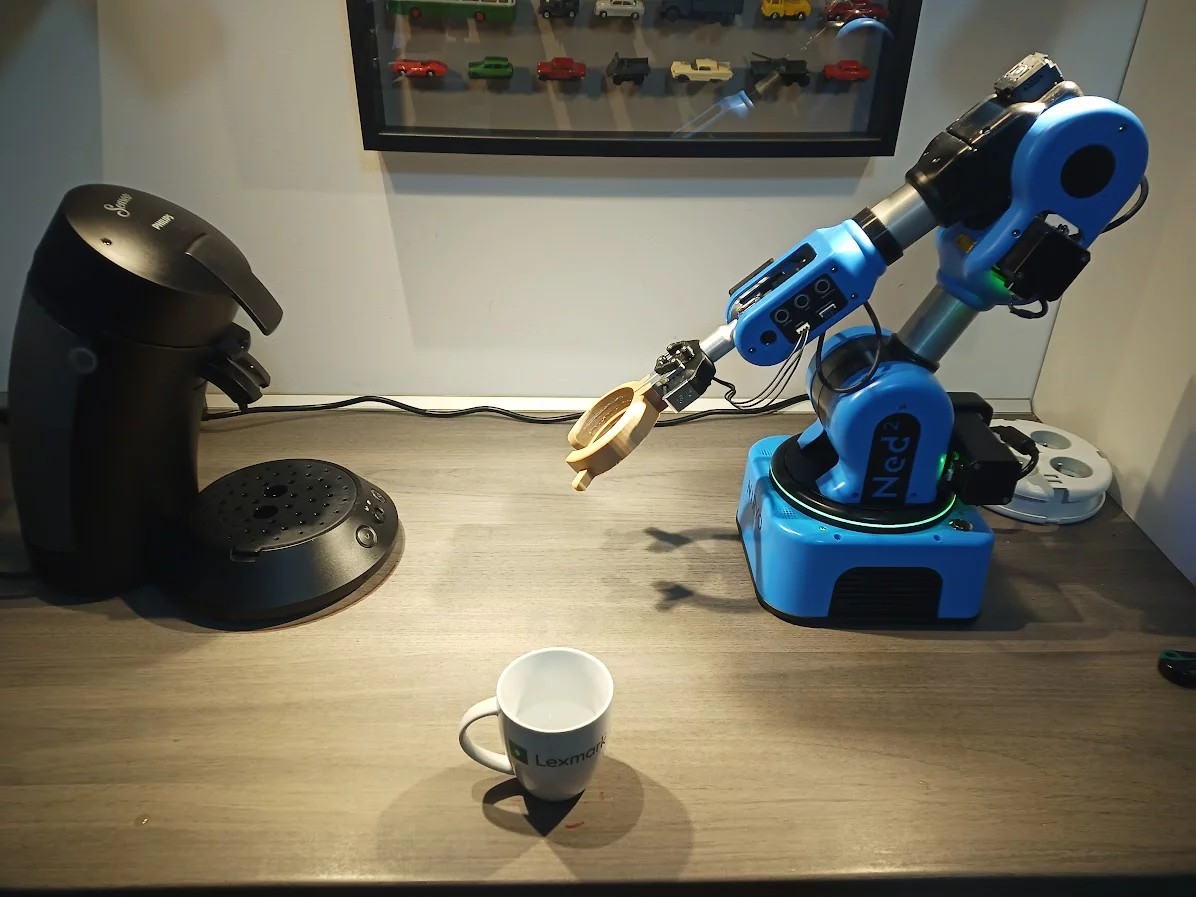
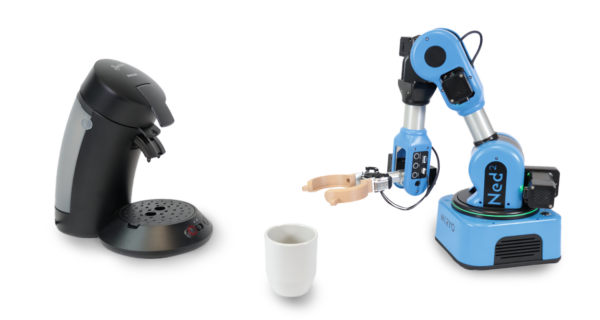
Der NED2-Roboterarm bereitet eine Tasse Kaffee ganz ohne menschliches Zutun zu.
Die Schülerinnen und Schüler lernen die grundlegenden Funktionen des NED2-Roboterarms kennen. In dieser Übung führt der NED2-Roboterarm mithilfe der Grundbausteine der Blockly-Programmierumgebung („No Code“) eine einfache Aktion aus: das Aufnehmen und Platzieren einer Kaffeetasse sowie das Drücken eines Knopfs an der Kaffeemaschine. Ziel dieser Übung ist es, den Schülerinnen und Schülern zu zeigen, wie man eine Roboterzelle konfiguriert, wie man einen Greifer an spezifische Anforderungen (Größe der Kaffeetasse und Knopf der Kaffeemaschine) anpasst und wie man die Abfolge der Bewegungen so gestaltet, dass die Aufgabe erfolgreich ausgeführt wird.
Diese Übung eignet sich gut für einen Wettbewerb zwischen verschiedenen Schülergruppen.

Laborinhalt
Kapitel 1: Aufbau der Roboterzelle
- Optimale Platzierung des Roboterarms, der Kaffeemaschine und der Tasse
Kapitel 2: Anpassung des „Custom Grippers“
- Ein Werkzeug erstellen, das speziell für die jeweilige Aufgabe geeignet ist
Kapitel 3: Einführung in Blockly
- Erste Schritte mit Blockly
Kapitel 4: Programmierung mit Blockly
- Bewegungsabläufe für den NED2-Roboterarm erstellen
Kapitel 5: Veröffentliche deine Challenge im Niryo-Discord-Server
Benötigte Ausrüstung
 Ned2
Ned2
 NiryoStudio
Vorkenntnisse
Dieses Labor bietet einen guten ersten Kontakt mit den Grundlagen von Blockly.
- Eingeschriebene Teilnehmer/innen: 18


