Visual Picking with Artificial Intelligence using TensorFlow
Introduction
This application uses TensorFlow, an open-source machine learning framework developed by Google, to enable the Ned2 robot to recognize and pick multiple objects placed in its workspace. This system leverages the Vision Set, artificial intelligence, image processing, and machine learning.
Requirements
- Ned2 robot
- Any Niryo Gripper
- The Vision Set and its calibrated workspace
- Various objects to place on the workspace
Set-Up
Hardware
- Calibrate the workspace using NiryoStudio. The workspace name must match the one defined in
param.yaml(default:"tensorflow_workspace"). - Ensure the robot and workspace are firmly fixed to maintain precision during repeated operations.
Software
- Install Python 3.11 on your computer.
- Download the project folder containing the application code.
- Extract the files from the .zip
- Create a virtual environment and install dependencies with
pip install -r requirements.txt - Open the
param.yamlfile and configure the following settings according to your setup:- robot_ip: The IP address of the robot. (Default:
10.10.10.10when using hotspot) - workspace: The name of your workspace. (Default:
"tensorflow_workspace") - drop_pose: The pose where the robot will drop objects. This should be set via the app interface, not manually in the YAML file.
- observation_pose: The pose where the robot can view all 4 workspace landmarks. Also recommended to set via the interface only.
- offset_vacuum: Offset value for vision picking when using the vacuum pump. This value depends on object weight (default:
10mm).
- robot_ip: The IP address of the robot. (Default:
Note: If the robot cannot see all four landmarks when going to the observation pose, it will enter learning mode. You must manually move it to a position where it sees the landmarks, and confirm the pose from the app.
Application Menu Overview
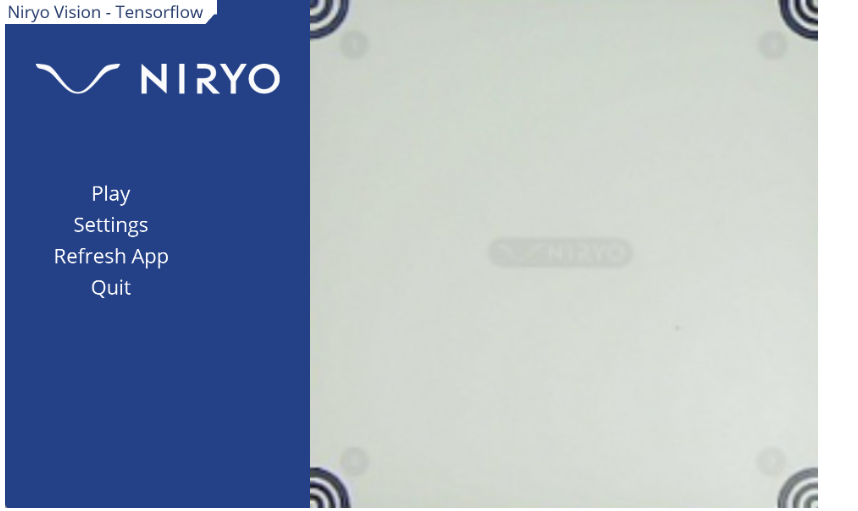
Play

Displays a list of saved objects. Click an object’s name to command the robot to pick it up and place it at the predefined drop pose.
Settings
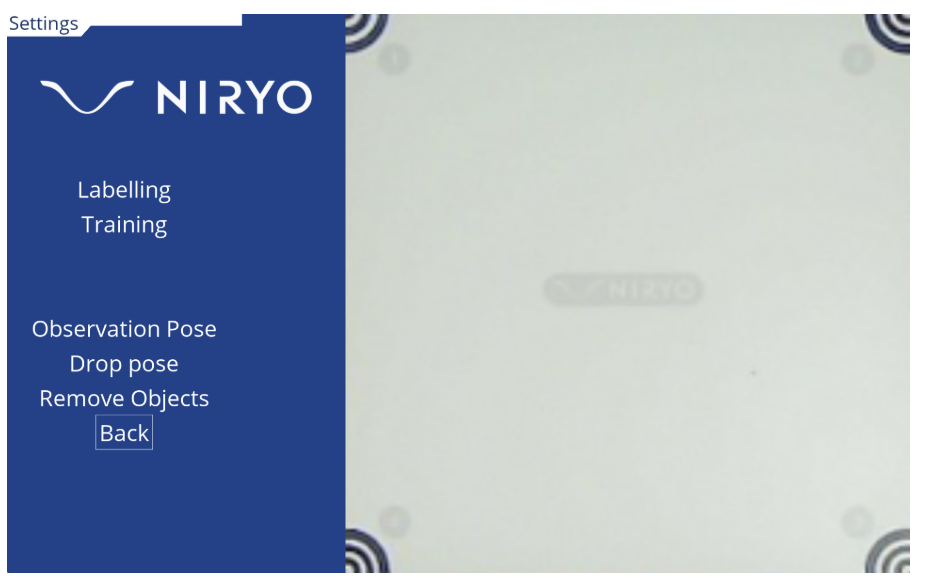
Labelling
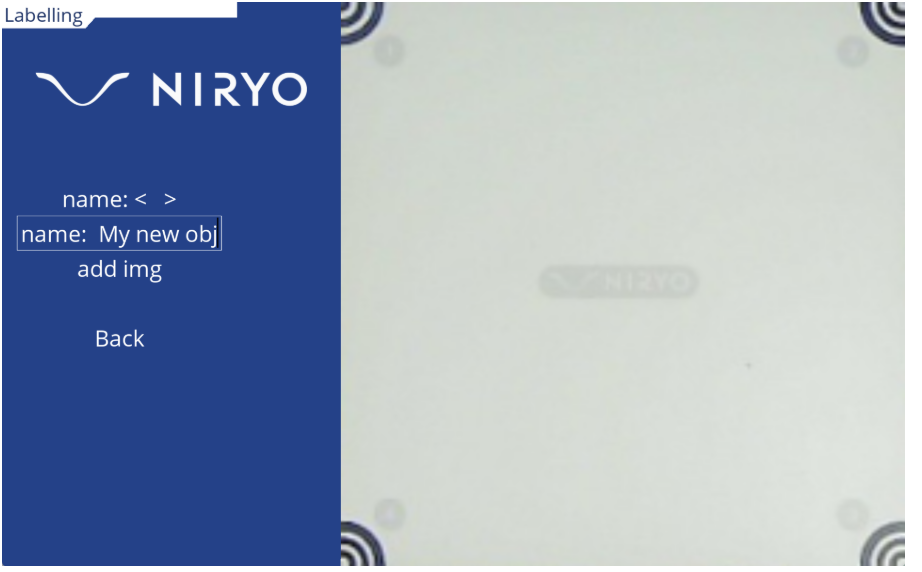
This section allows you to create new objects or add more images to existing ones.
- Name (Selector): Pick an existing object from the database or use the default
obj_xfor a new object. - Name (Text Input): Enter a name for the new object or match the name of an existing one to add more images.
- Add img: Capture an image of the current workspace and save it under
/datain the respective object folder.
Important: When adding a new object, take at least 20 photos of it from various angles and lighting conditions. Avoid white or shiny reflective objects as they reduce recognition accuracy.
Training
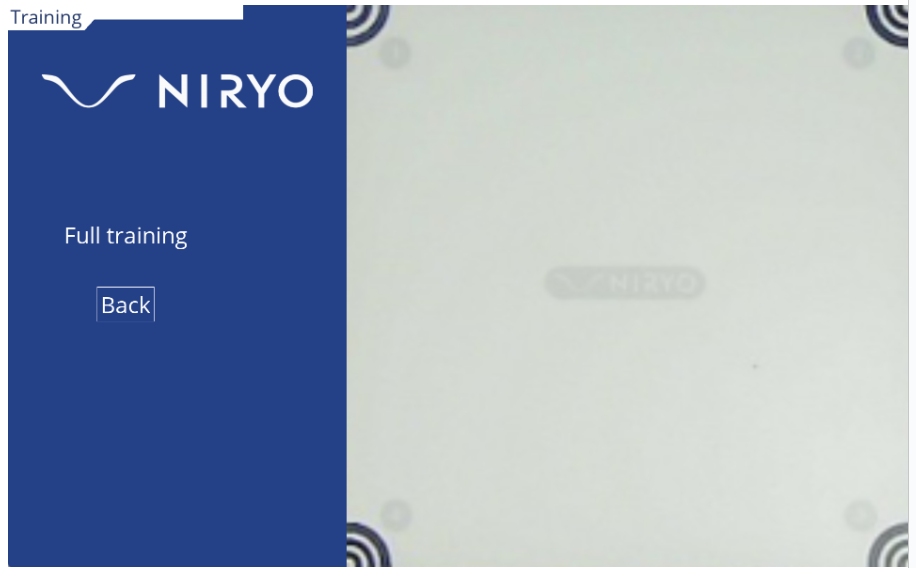
Click Full Training to launch model training using the current contents of the data/ folder. The app will be unresponsive during training (approx. 1–10 minutes). After training, the new model is saved to the Model directory, and the app refreshes automatically.
Observation Pose
This option lets you define the observation pose. When selected:
- The robot enters learning mode.
- A red square will appear in the app interface.
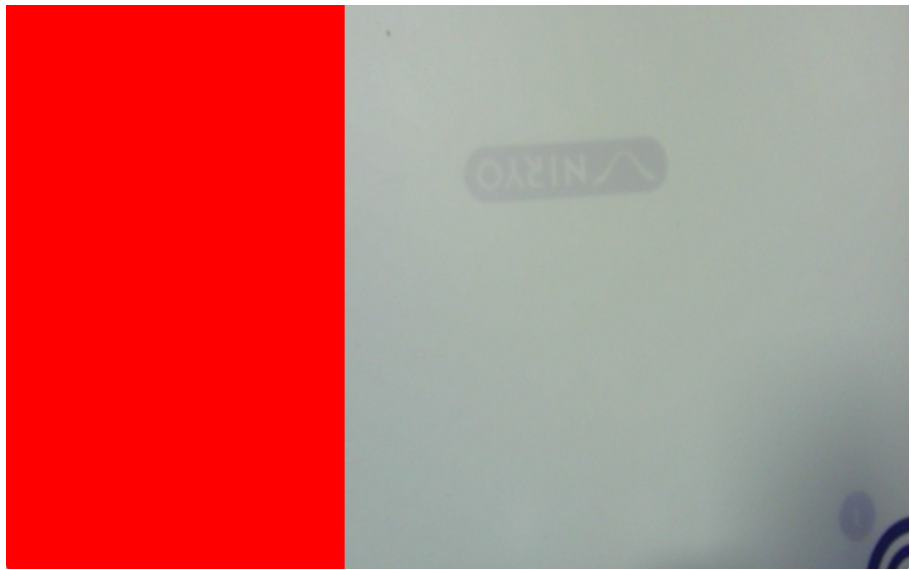
- Move the robot until it sees all 4 landmarks (the square will turn green).
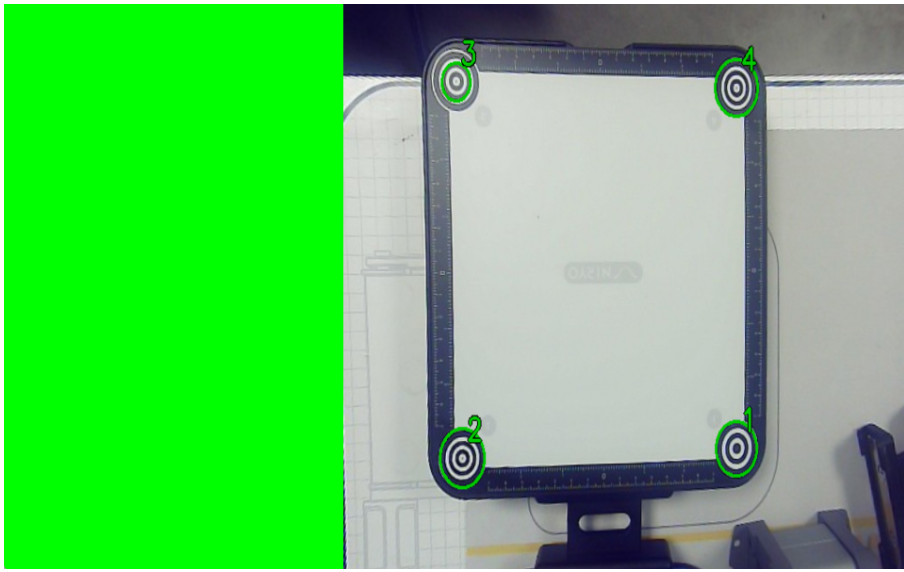
- Press any key or click to save the pose. It will be reused in future sessions.
Drop Pose
Same procedure as observation pose:
- The robot enters learning mode.
- Move the robot to your desired drop location.
- Confirm the pose with a key press or mouse click.
Remove Objects
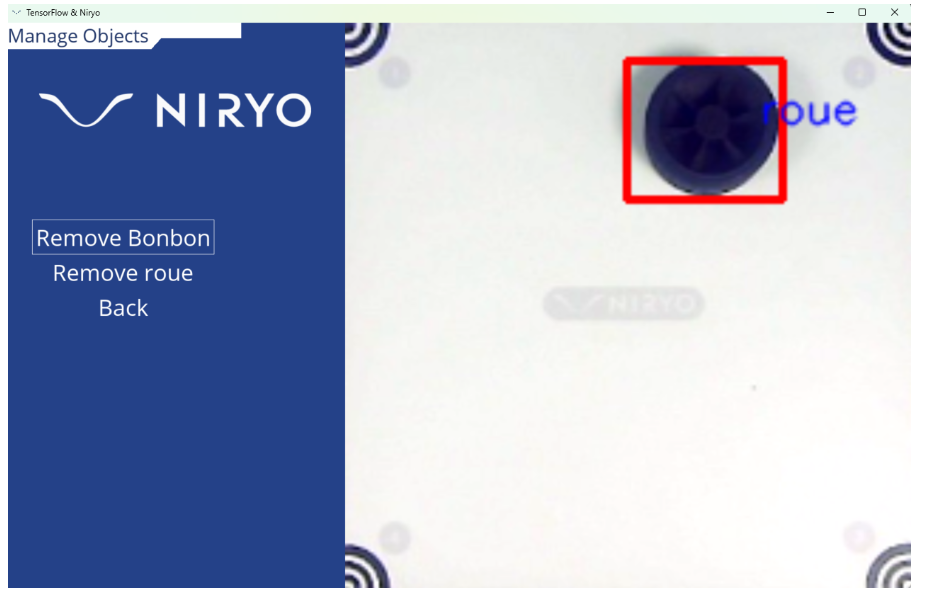
Delete an object and all its associated data. The app will automatically retrain the model without that object and refresh the interface.
Refresh App
This option refreshes the GUI, reinitializes tools, and clears robot collisions. It is functionally equivalent to restarting the app.
Quit
Sends the robot back to its home position and closes the application.
Getting Started
- Run the main script:
python robot_gui.py - Initially, no model or images are available. Start by creating objects in the Labelling section.
- Take at least 20 images for each object under different conditions.
- Train the model using the Full Training button.
Note: The app automatically generates a small object logo for the Play menu when creating a new object. You can manually replace the logo in the file system if needed.
How It Works – Under the Hood
1. Image Capture
Function: take_workspace_img()
Uses the PyNiryo API to:
- Capture an image from the robot's camera.
- Crop the image and correct lens distortion.
2. Object Masking
Function: objs_mask()
The application:
- Converts the image from RGB to HLS using
cv2.cvtColor(). - Applies
cv2.inRange()to isolate potential object areas based on color. - Cleans the mask using
cv2.dilate()andcv2.erode()to remove noise.
The result is a binary (black and white) image highlighting the shapes of detectable objects.
3. Object Extraction
Function: extract_objs()
Steps:
- Find contours in the mask using
cv2.findContours(). - Calculate the object's center using
get_contour_barycenter(). - Determine its angle with
get_contour_angle(). - Extract and rotate the object image using
cv2.minAreaRect()to give consistent orientation.
Standardizing object orientation improves TensorFlow's recognition accuracy.
This concludes the tutorial. You are now ready to create and deploy your own object-picking models using AI and the Niryo Ned2 robot!