Start with Vision set
General overview:
Here is a video on how to
- Set up the vision set: mount the camera on top of your robot
- Calibrate your workspace
- Understand how to use the Blockly blocks to control the camera
🔎Get a deeper understanding
Find the technical specifications of our vision kit here.
STEP 1: Unboxing
Verify first that you have everything in the box when you receive your vision set:
- 1 Camera ;
- 1 Vision plate ;
- 1 Magnetic workspace ;
- 2 Scratchs ;
- 6 Manipulable objects ;
- 1 Calibration Tool ;
- 2 Camera screws ;
- 1 Allen Key 2mm
STEP 2: Camera installation
-
To install the camera on the robot, place it on axis 6 and secure it by tightening the two screws at the bottom of the camera (these are included in the bag with the camera).
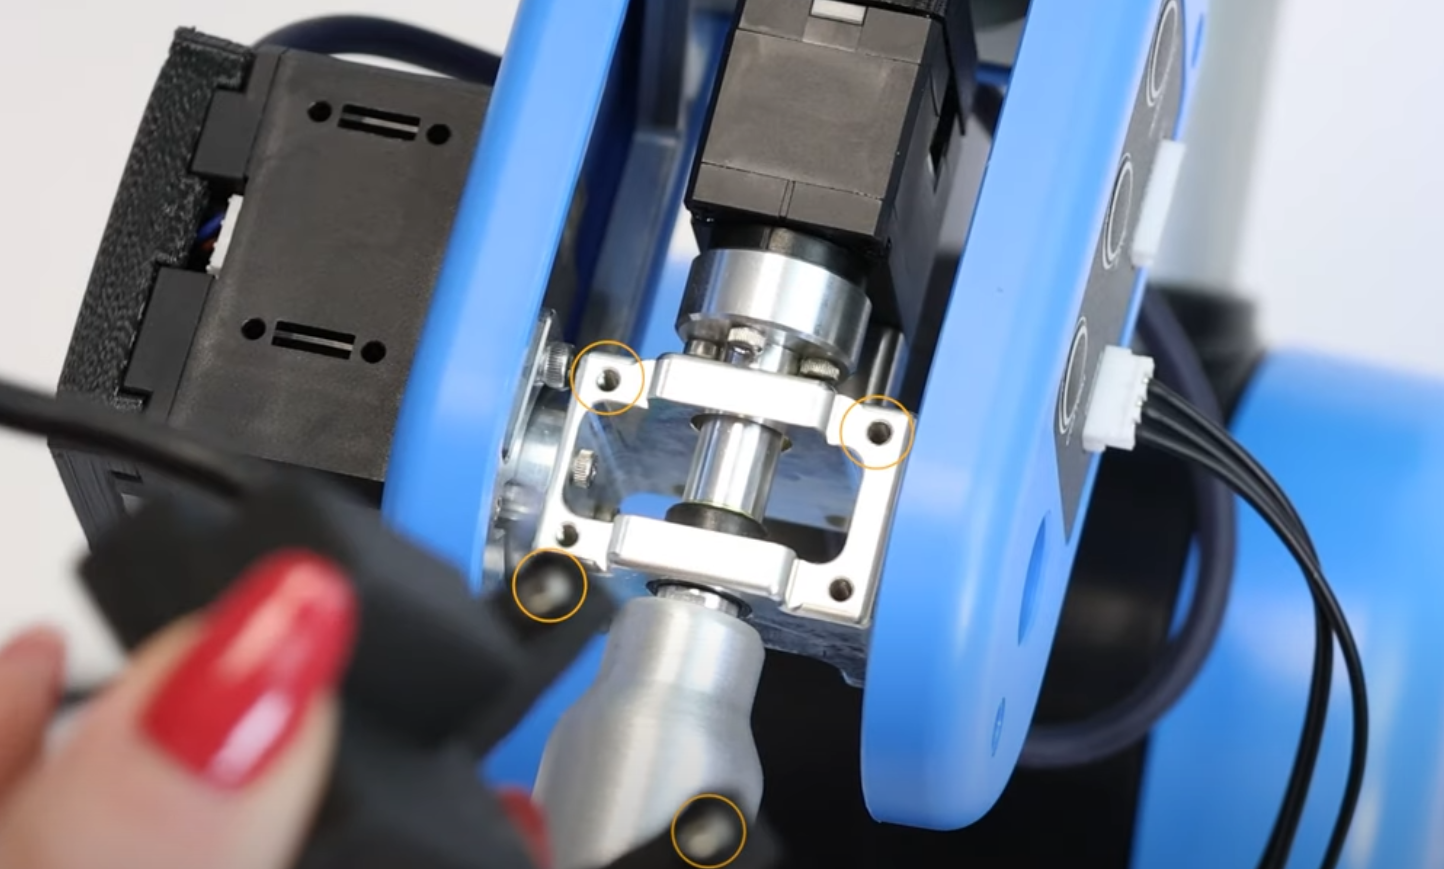
-
Pass the cable through the end effector, positioning it between the motor and the aluminium brace, to allow freedom of movement

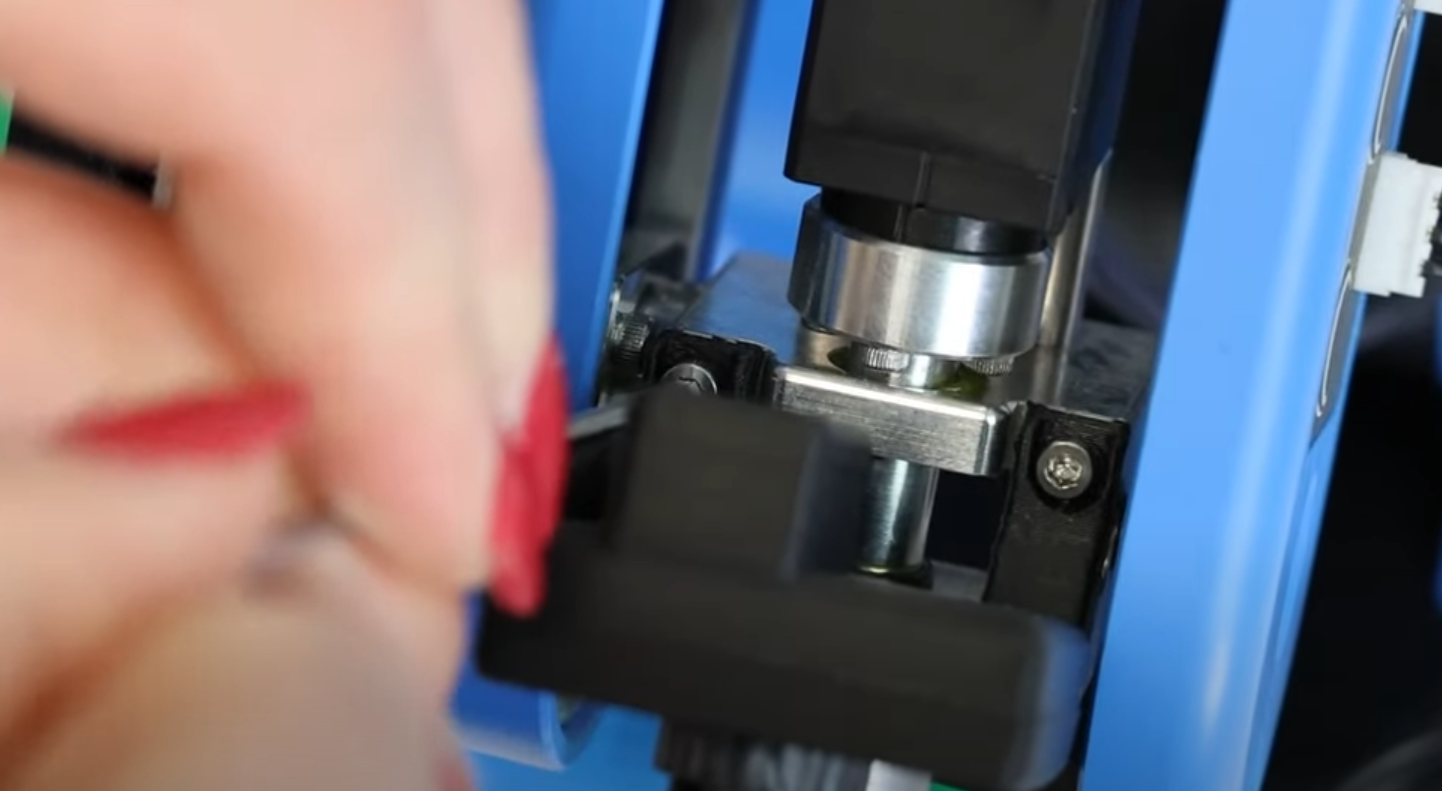
-
Connect the USB cable to the robot. You can connect it to any USB port
-
Arrange the cable with the provided scratch
STEP 3: Workspace creation
- Scan the tools in the Equipment tab. The Vision Set will appear:
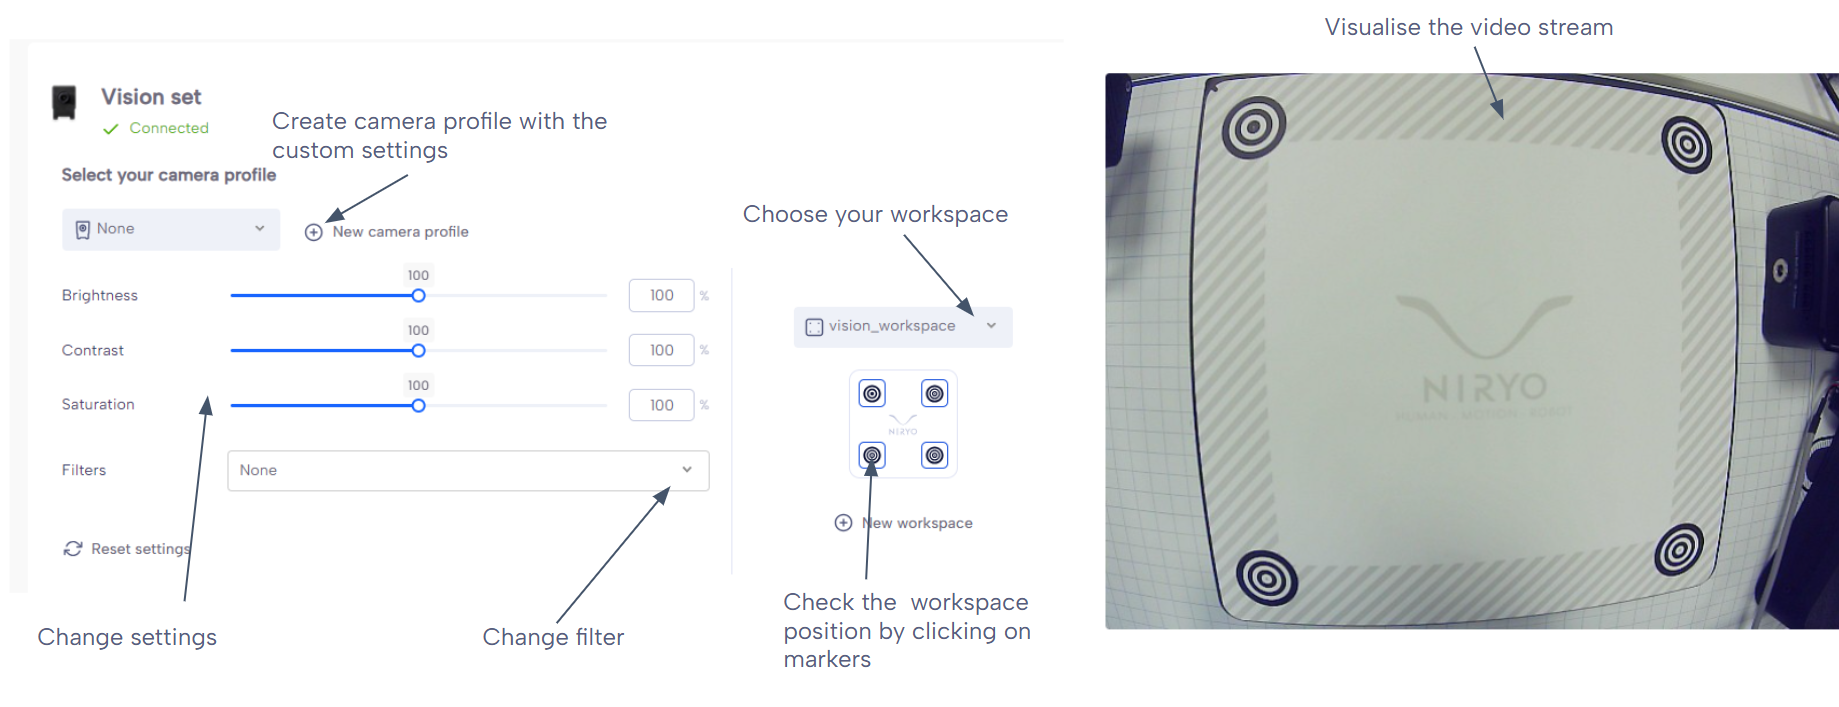
- Click on "New workspace"

- Follow the process on NiryoStudio
Bonus: Optimizing the Camera for Robust "Vision Picks"
To ensure the reliability of your Vision Pick operations with the robot, it is essential to optimize the image quality perceived by the camera.
Follow these steps for optimal configuration:
Preparation:
-
Place the robot above the vision plate.
-
Arrange several objects on the plate, making sure to include at least 3 objects of each color (Red, Green, Blue).
Filter Activation:
-
In the vision control interface, select the "All" option from the detection filters dropdown menu. This allows you to visualize how changes affect the detection of all shapes and colors.
Camera Parameter Adjustment:
-
Progressively adjust the camera parameters: Brightness, Contrast, and Saturation.
-
The goal is to find the perfect balance that allows the camera to precisely detect the different objects and their shapes, without confusion.
⚠️ Key Tip (Example): Ensure that a square object is not detected along with its shadow. An overly pronounced shadow can distort the detection and mislead the system, potentially causing it to confuse the resulting silhouette with another shape (like a circle). Adjusting Contrast and Brightness is often key here.
STEP 4: Start using the vision Set in your program
These are the blocks necessary to start using your tools:
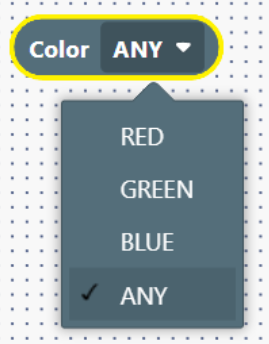
Color value
Allows you to choose a color among the list of available colors. This color will be used in the Vision Pick Block and the Is detected block.
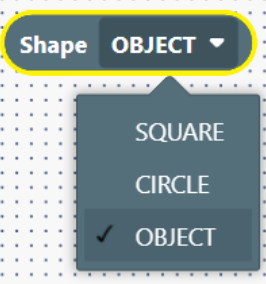
Shape
Allows you to choose a shape among the list of available shapes. The selected shape will be used in the Vision Pick Block and the Is detected block.
Workspace value
Allows you to choose a workspace among the list of defined workspace.

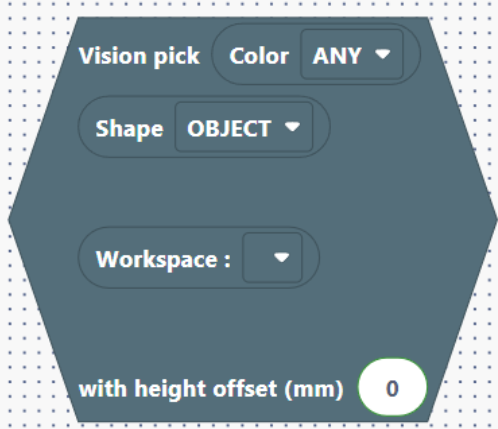
Vision pick
This block will make the robot pick an object matching the Color Block and Shape Block.
The picking process is:
- Opening the gripper
- Going over the object (5 cm)
- Going down
- Closing the gripper
- Going back to 2.
The pick will happen in the selected workspace (default_workspace in the example)
The height offset is the height at which the end effector will come to take the object, based on the workspace height.
Examples for height offset:
- With the Vacuum Pump equipped, you can use the height of the object.
- With the Standard Gripper equipped, it can be half the height of the object to take it from its middle.
This block acts as a condition and so, returns a Boolean.
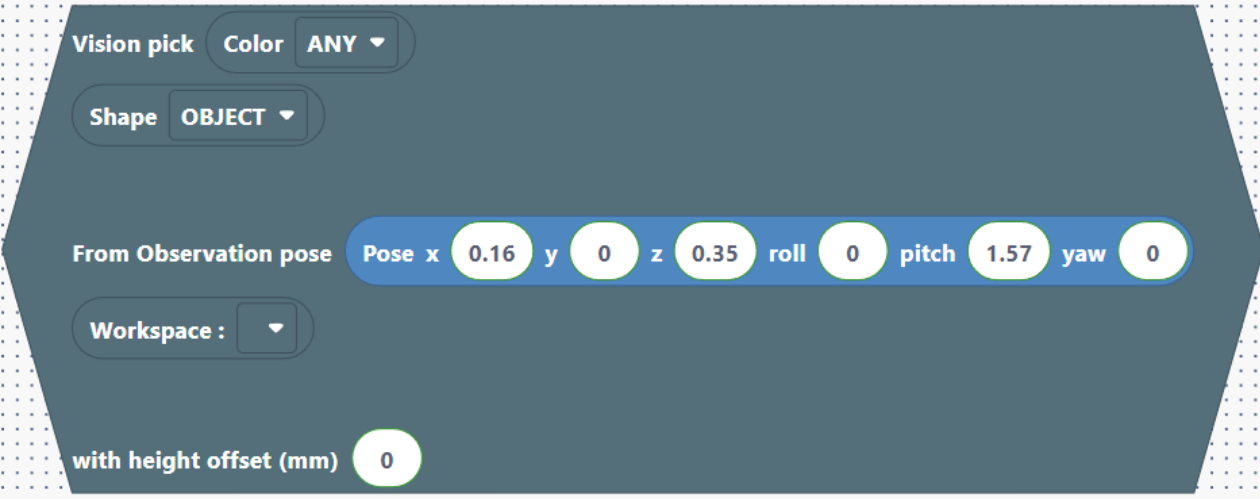
Vision pick from pose sequence
Equivalent to a Move Pose to the Observation Pose followed by a vision pick.
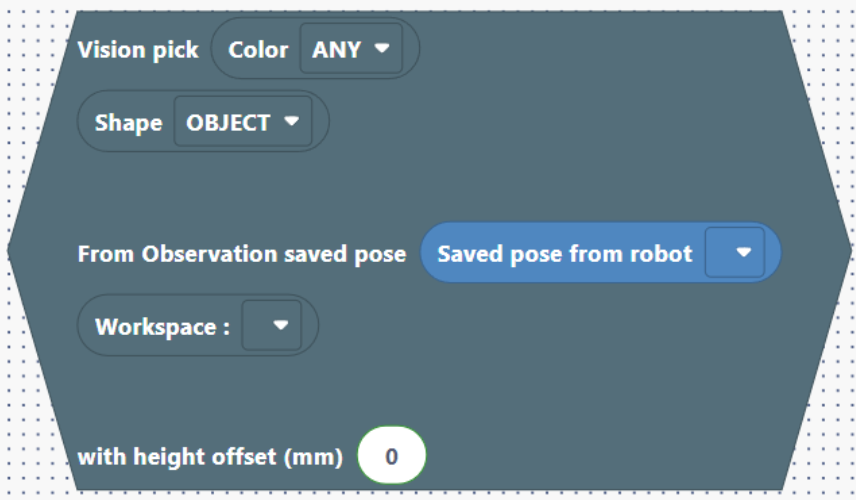
Vision pick from saved pose sequence
Equivalent to a Move Pose to the Observation Pose followed by a vision pick.
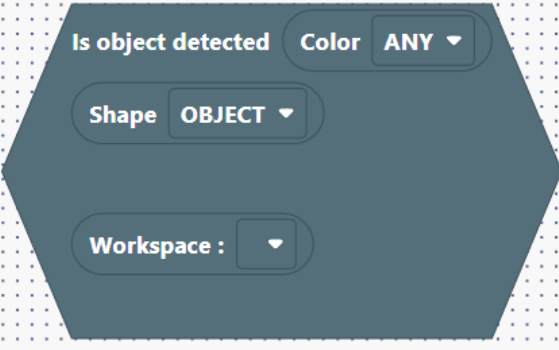
Is object detected condition
Represents whether an object is matching Color Block and Shape Block is present in the workspace.
This block returns a Boolean.
💡Quick start
You can also download the Blockly program here: