PASO 4: Calibrar su robot
Visión general:
Antes de mover el robot, es necesario calibrar los motores. Este procedimiento debe realizarse cada vez que se reinicie el robot.
El anillo LED del robot mostrará una secuencia azul lenta. Esto indica que se requiere la calibración del robot.
PASO 1:
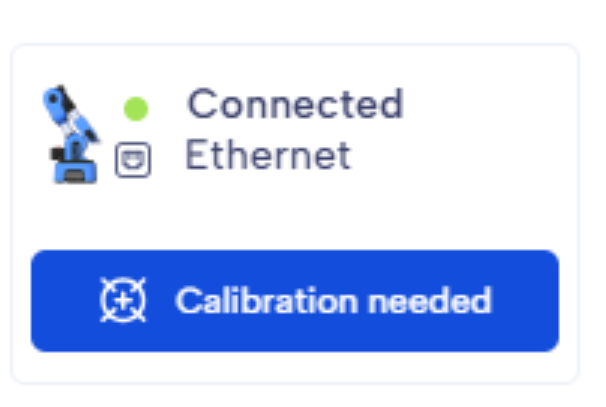
Una vez que su Ned2 esté conectado, el software le pedirá que realice una calibración. Simplemente haga clic en el botón 'Calibration Needed' (Calibración necesaria) y el robot se calibrará automáticamente.
PASO 2:

Al final del proceso, aparecerá un mensaje para confirmar si la calibración se ha realizado correctamente.
PASO 3:

Si necesita volver a realizar la calibración, simplemente vaya a la parte superior del Dashboard y haga clic en 'New Calibration' (Nueva calibración).
💡Consejos útiles:
Manualmente: También puede realizar la primera calibración del robot pulsando el botón "Custom" en la muñeca del robot.
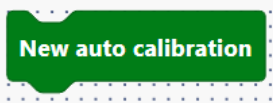
Blockly: Puede ejecutar una nueva calibración con el bloque "New auto calibration" (Nueva autocalibración).
Para profundizar
¿Por qué su robot Ned2 necesita una calibración? La calibración sincroniza la posición de cada motor paso a paso con su controlador.