STEP 3: Connect your robot
To ensure the best performance, lowest latency, and most stable connection, we strongly recommend using an Ethernet cable (provided with your robot). Wireless connections should be used primarily for quick configuration or light mobile use.
Wired Connections (Recommended)
Using an Ethernet cable is the most reliable way to avoid interference and connection drops during programming.
Auto Mode (Factory default mode)
Auto Mode lets the robot automatically choose the correct Ethernet configuration.
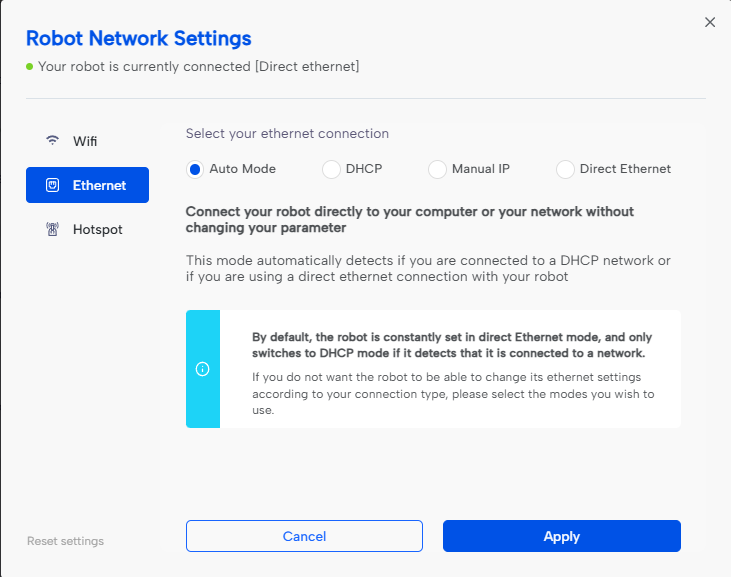
In this mode, the robot will detect if it is connected directly to a computer, or to a network with a DHCP server, and will switch to the appropriate configuration automatically.
- If the robot is connected directly to your computer → it will use Direct Ethernet (APIPA).
- If the robot detects a DHCP network → it will automatically switch to DHCP and obtain an IP address from your router / network.
By default, the robot starts in Direct Ethernet mode and only switches to DHCP if a DHCP server is detected.
Auto Mode is recommended if you don’t know which mode to select, or if you frequently change between direct connection and standard LAN network.
If you want to lock a specific configuration (Manual IP / DHCP only / Direct Ethernet only), select the mode manually instead of using Auto Mode.
Direct Ethernet Mode
This mode allows you to link the robot directly to your computer using the provided cable, bypassing any corporate or school network restrictions.
-
Plug & Play: Connect the Ethernet cable directly from your computer to the back of the Ned2.
-
Launch NiryoStudio: Click on Connect Robot.
-
Selection: Select your robot and choose the Direct Ethernet mode.
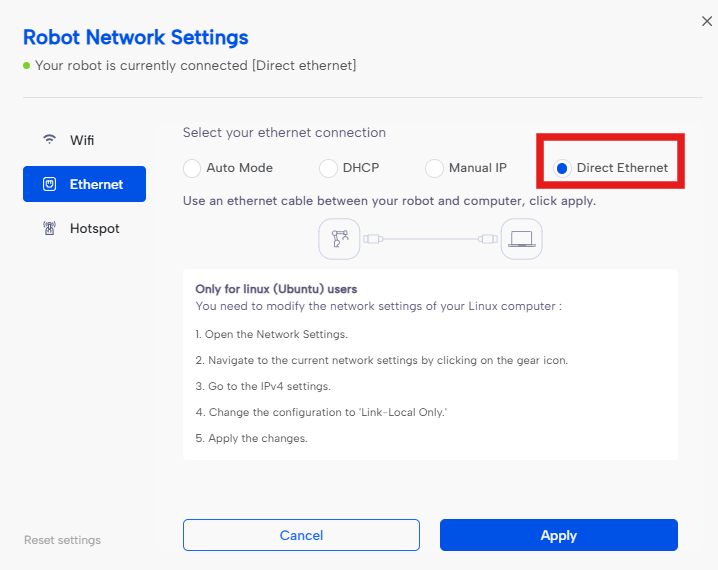
Technical Note: The robot uses a fixed link-local (APIPA) address: 169.254.200.200. No internet or local network is required.
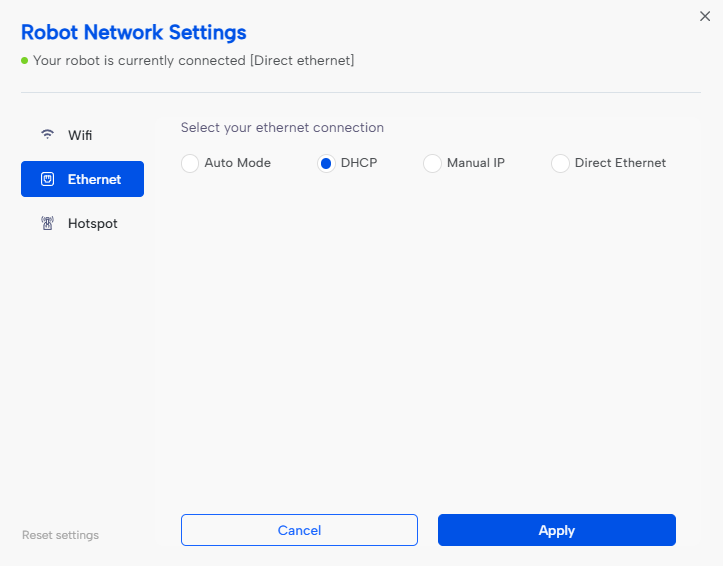
Ethernet Mode (DHCP)
Your robot can be connected to DHCP
- Connect your robot on the Network with Ethernet
- Connect you computer on the same Network (with Ethernet or Wifi)
- Click “Connect robot” to access Ned2 connection
- Select your robot , then connect with the Ethernet
Wireless Connections (Secondary)
Hotspot Mode
Your robot has its own Wi-FI network (SSID), which is named Niryo Hotspot XX-XXX-XXX, visible below its base.
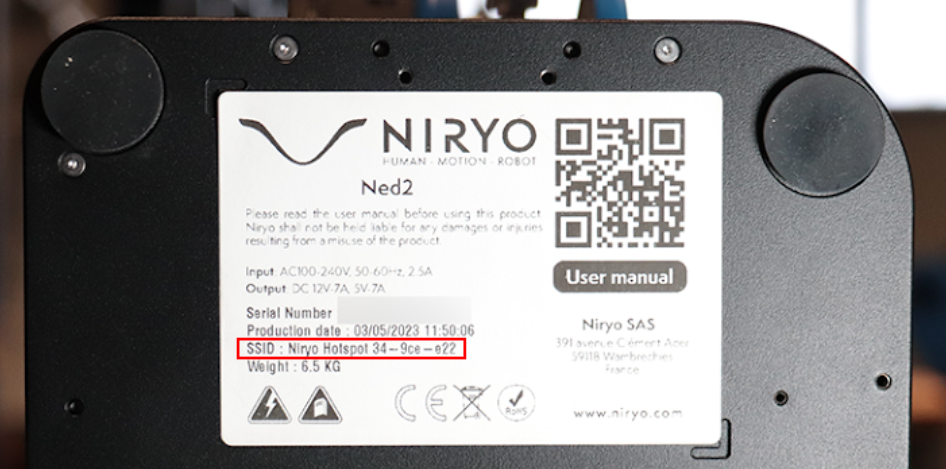
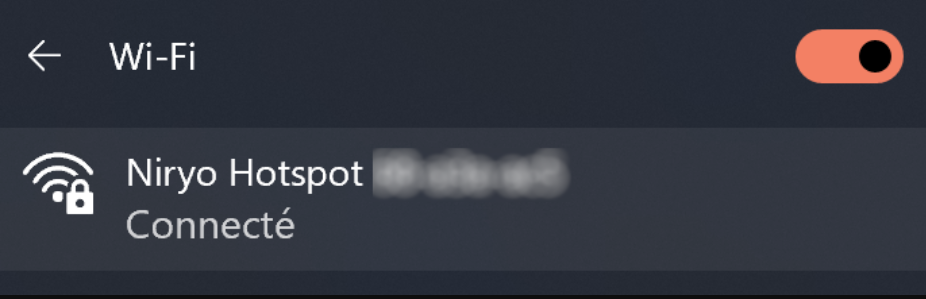
- Activate Hostpot Mode: Power on your robot and wait for the LED ring to become blue.
- Connect to the Robot's Hotspot: Connect your computer to the Wi-Fi access point with the password niryorobot
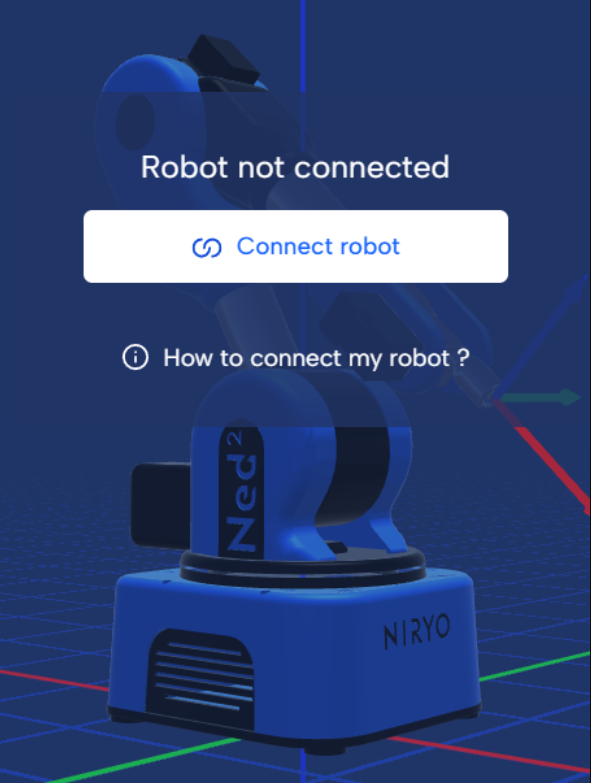
- Connect NiryoStudio: Start NiryoStudio, click on Connect robot button and select Hotspot.
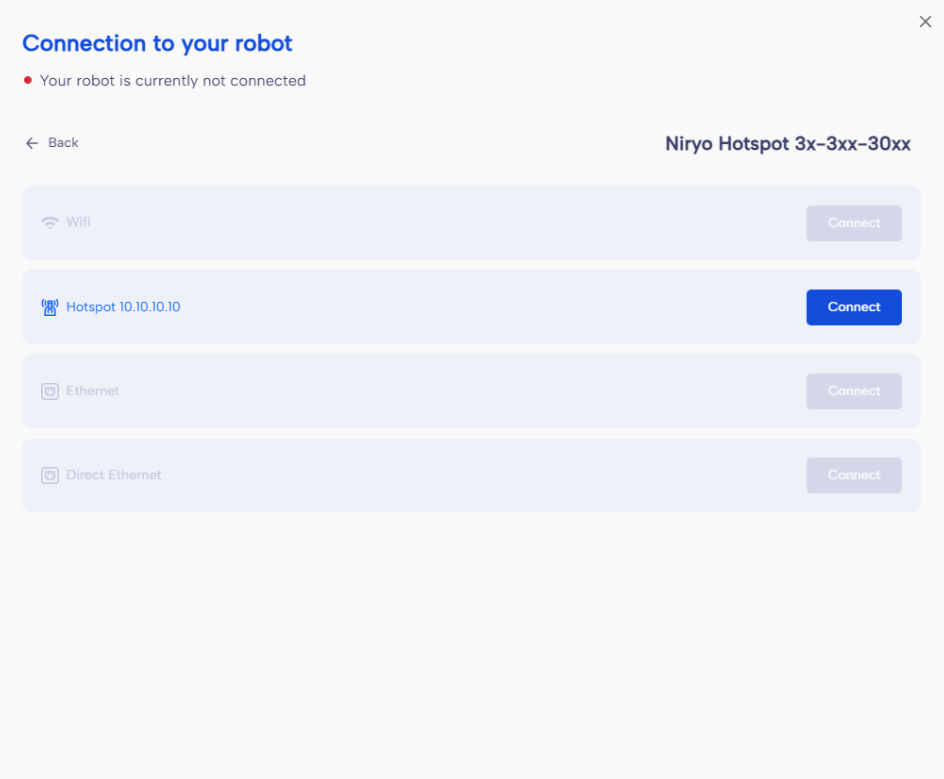
- NiryoStudio is now connected to your robot.

Wi-Fi Mode
- Once you are connected to the Ned2. Go on My robot → Settings then click Edit on the Robot connection part.
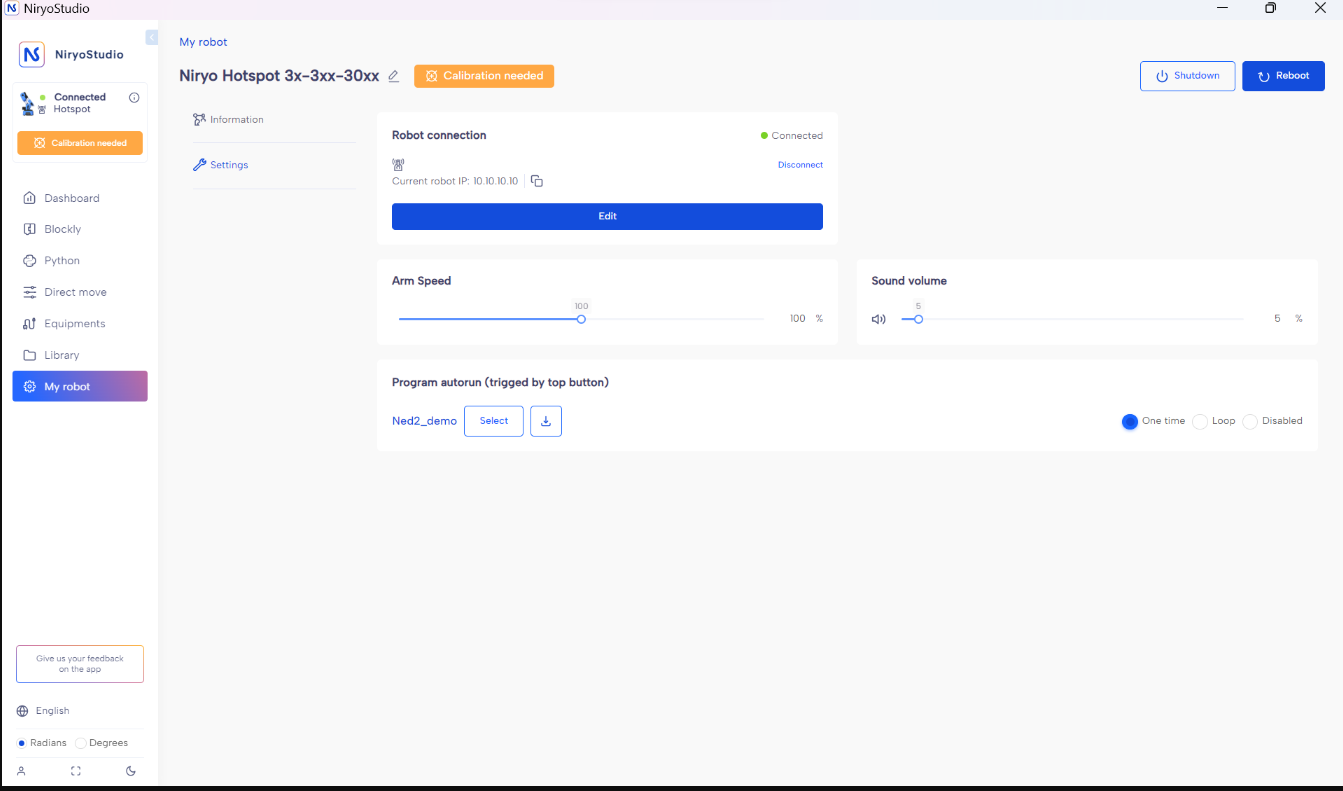
- On the Wifi section, you will be able to connect the robot to the Wi-Fi network you want.
- Once the robot is connected on the network, connect NiryoStudio to the robot by following the steps below:
- Connect your computer on the same Wi-Fi Network of your robot.
- Click on Connect robot.

- Select your robot, then connect to the robot using the Wi-Fi mode.
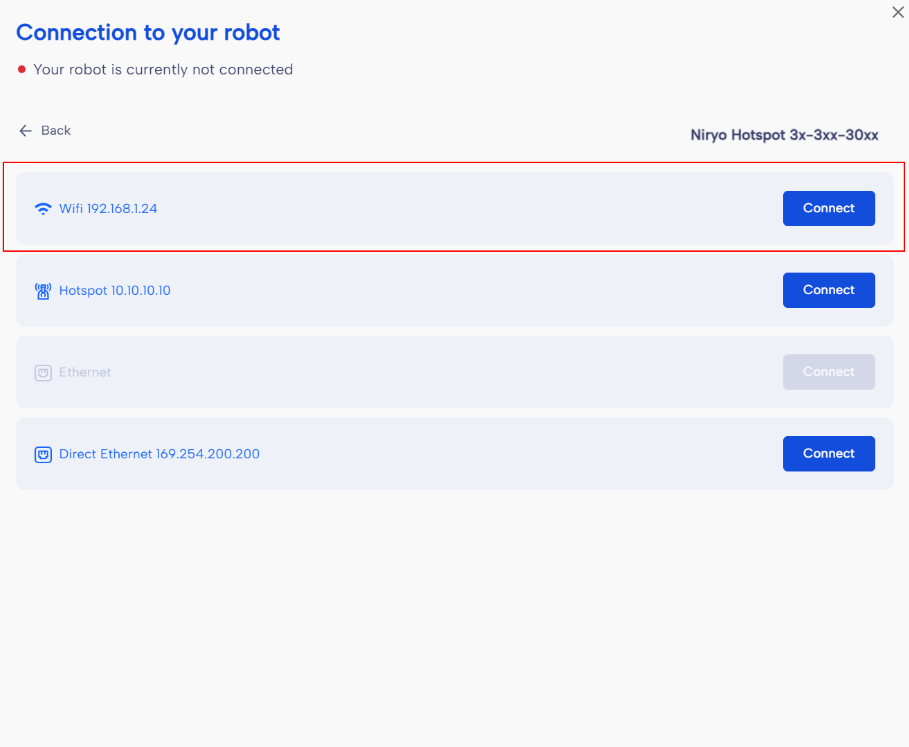
- You are now connected to your robot using Wi-Fi.