


Multi-robot connection (direct Ethernet)
Connecting multiple robots to a switch.
For this tutorial, which requires several robots, it is recommended to use this method to easily switch between robots:
Open NiryoStudio
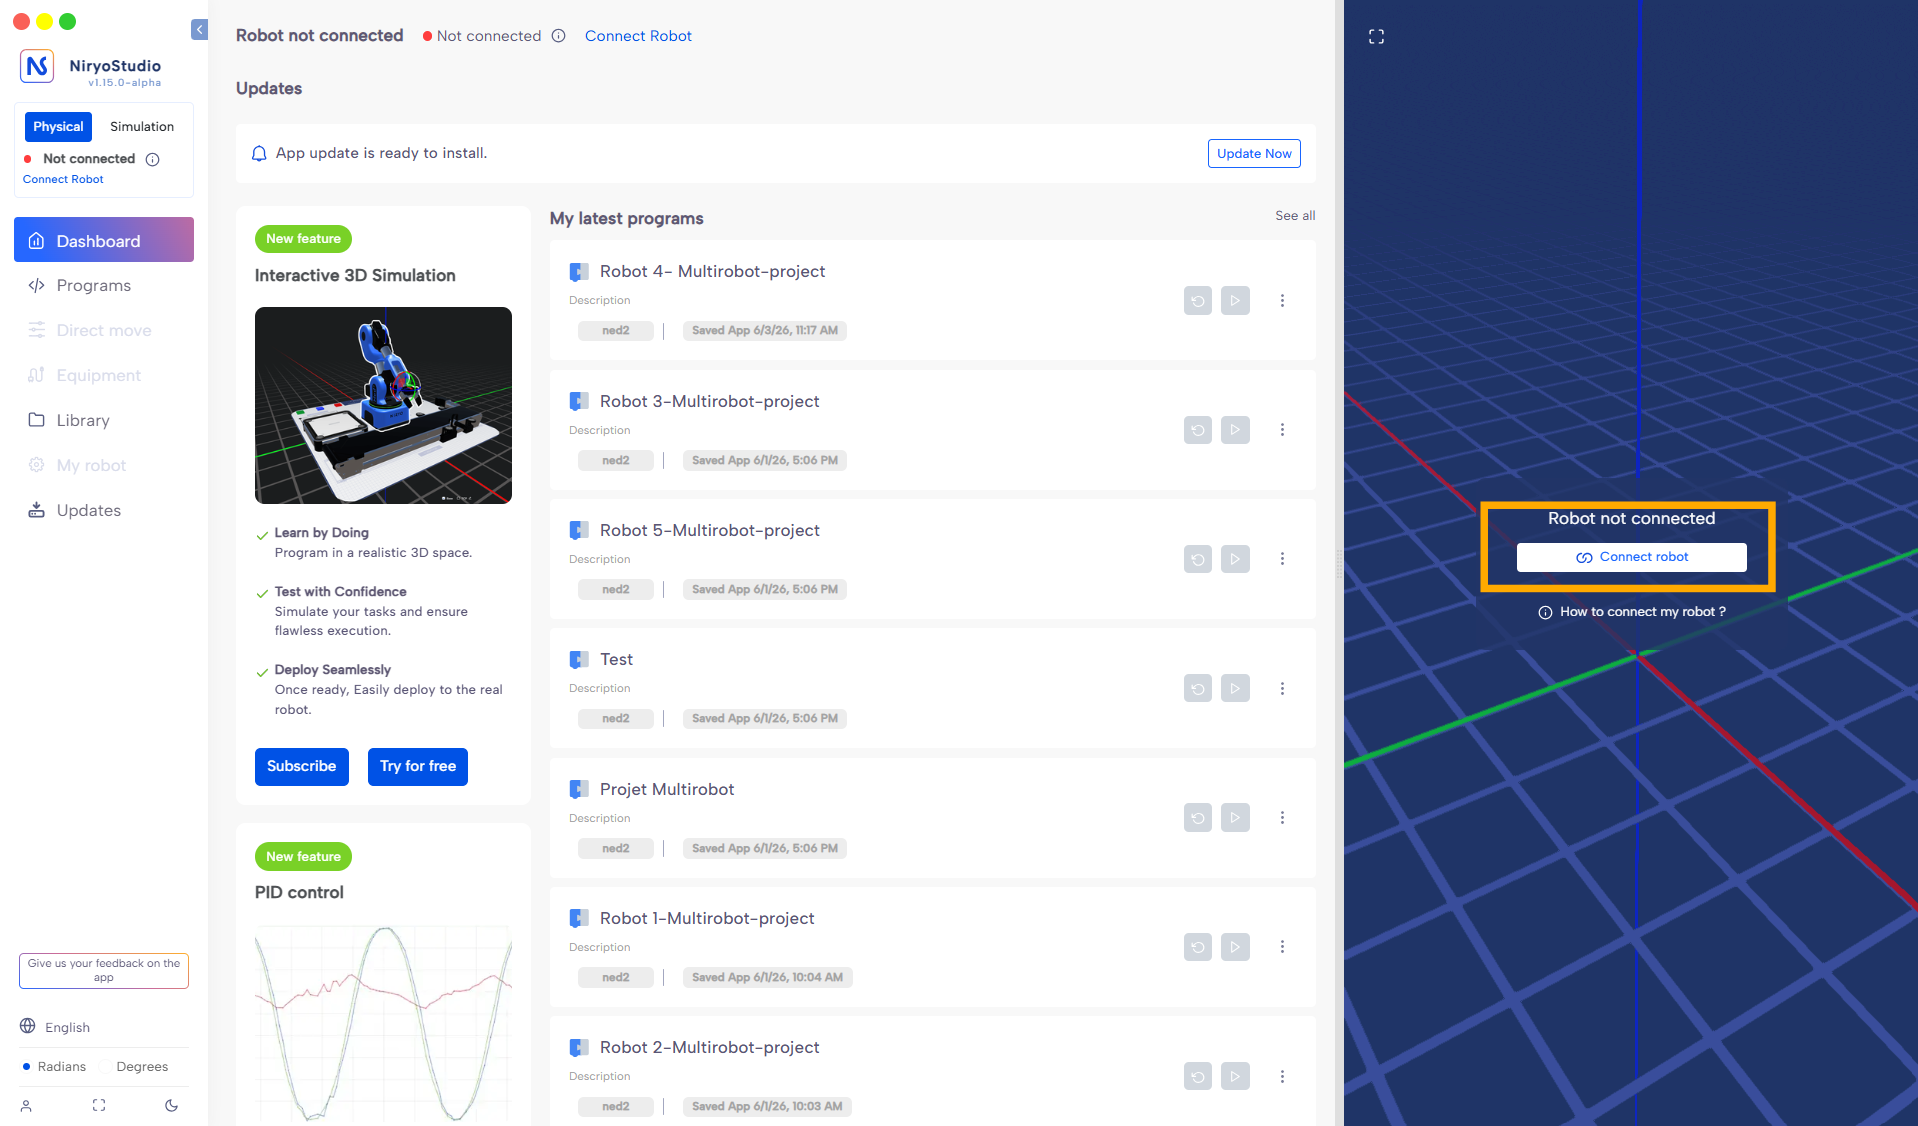
Step 1: Configuring the first robot
-
Connect Robot 1 to the switch using its Ethernet cable. (The switch and the PC are already connected).
-
Open NiryoStudio and connect to the default address: 169.254.200.200.

Go to My Robot → Settings → Edit → Ethernet.

Switch to Manual IP and configure:
- IP: 169.254.200.110
- Subnet mask: 255.255.0.0
- Gateway: 169.254.0.0
Click Apply. The connection in NiryoStudio will drop.
Robot 1 is now isolated at address 169.254.200.110. The default address 169.254.200.200 is available again on the switch.

Step 2: Repeating for robots 2, 3, 4 and 5
Repeat the exact same process for the remaining robots. Each time you plug in a new robot:
-
It will appear on the switch with the address 169.254.200.200 (which was freed by the previous robot).
-
Connect to it via NiryoStudio at 169.254.200.200.
-
Change its IP address incrementally (.120, then .130, then .140, then .150).
-
Click Apply to configure the next robot.
Step 3: Final simultaneous operation
Once the fifth robot is configured at address 169.254.200.150, all robots are deployed and operational simultaneously on the switch.

To interact with any robot without any physical manipulation:

-
On the NiryoStudio connection screen, directly enter the IP of the desired robot (e.g. 169.254.200.130).
-
Click Connect.
-
To switch, click Disconnect, change the IP to another robot (e.g. 169.254.200.110) and reconnect.