Electronics
Courses tagged with "Electronics"
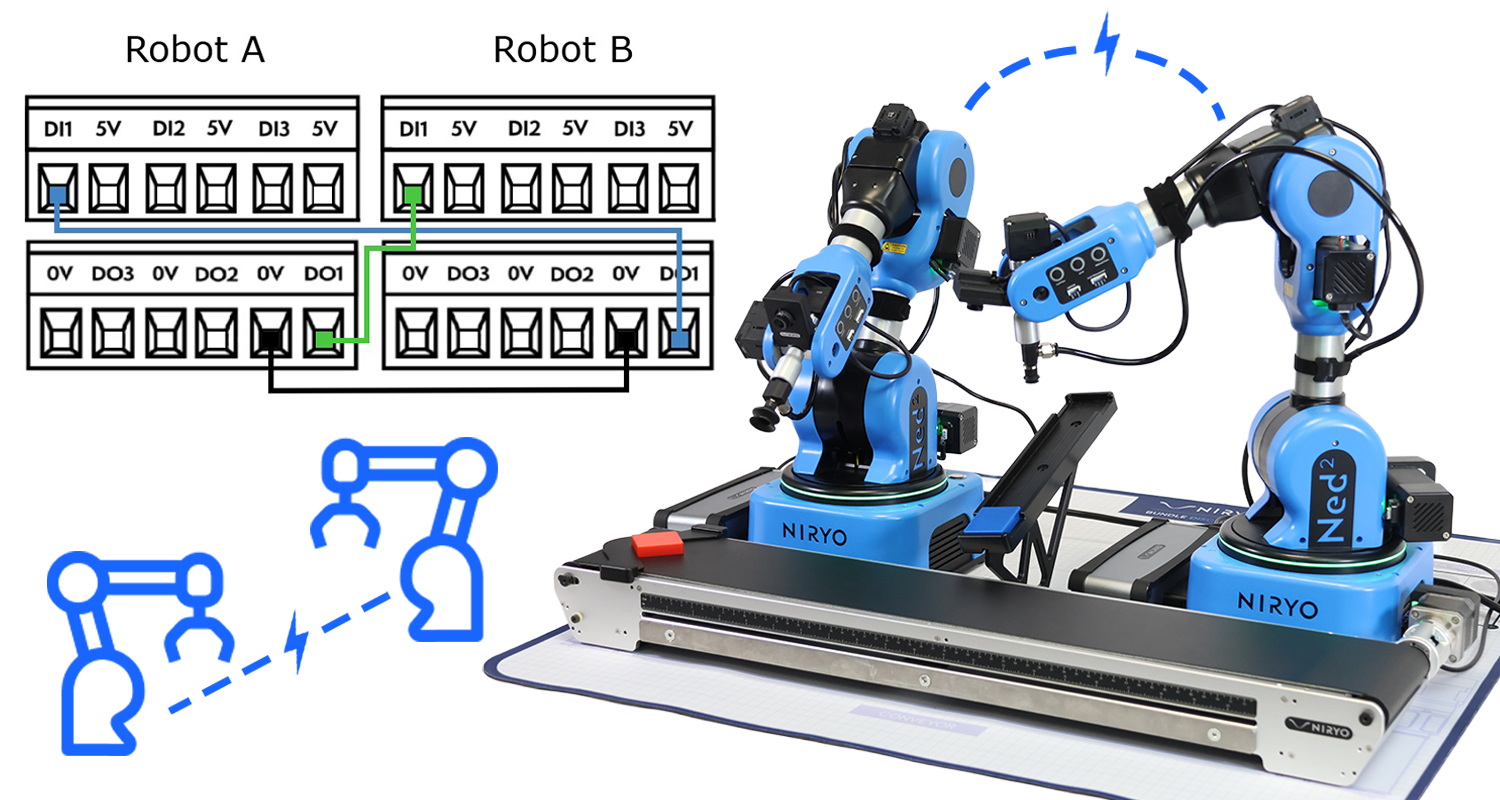
2 Ned2 working in a shared zone
- Content Type: Tutorial
- Equipment: Ned2
- Enrolled students: There are no students enrolled in this course.
Project Lab: Designing an Autonomous Tool Changer
- Length: 20h
- Content Type: Project
- Programming: Blockly
- Equipment: Bundle STEM
Robotic tool-changing systems have become a key enabler of flexibility and efficiency in industrial automation and robotics. By allowing a single robot to switch between different end-effectors or tools autonomously, these systems reduce downtime, enhance adaptability, and support complex multi-step processes. Inspired by CNC machining centers, modern robotic tool changers incorporate mechanical, electrical, and sometimes pneumatic coupling mechanisms to ensure rapid and reliable transitions.
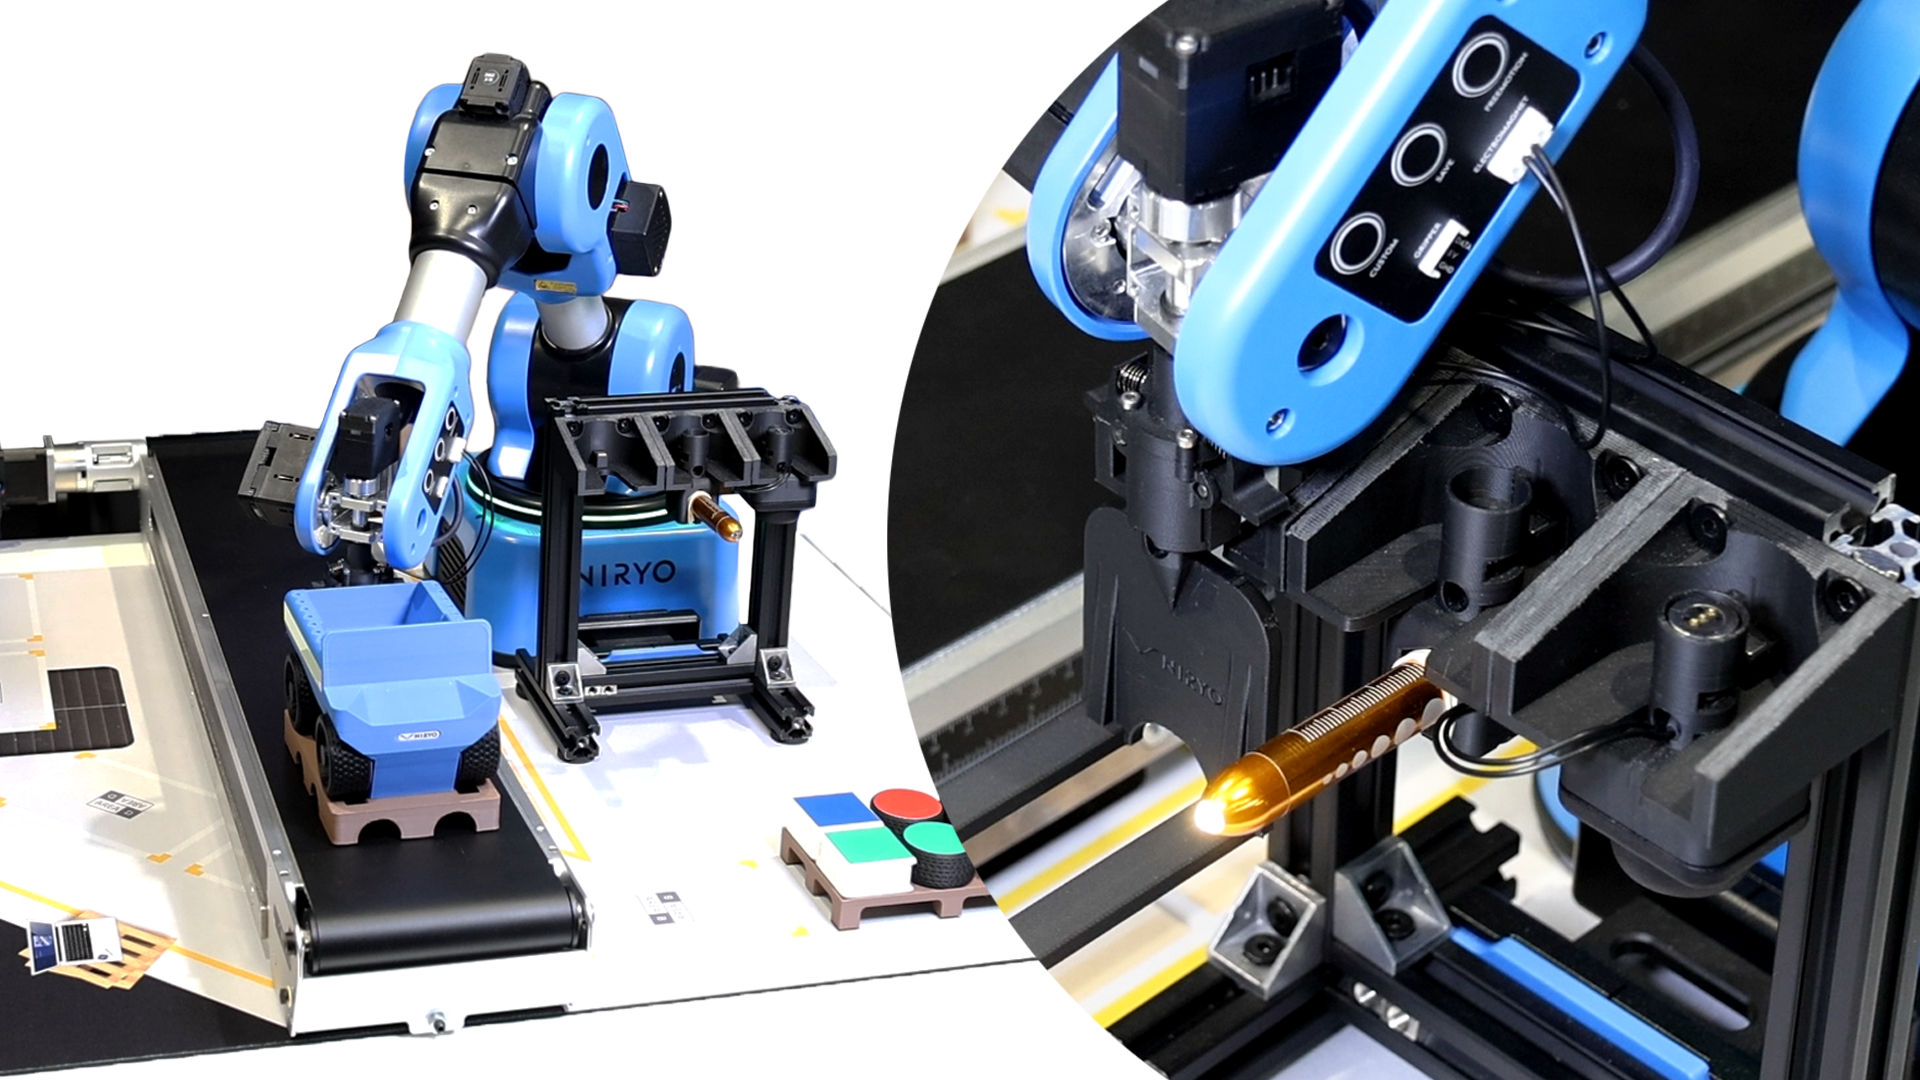
In this project, students will design, assemble, and program a quick tool changer for the Niryo Ned2 robot. The quick tool changer allows the robot to automatically switch between different tools (such as a fork, pen holder, or electromagnet), making it more versatile for automation tasks.
Through a combination of mechanical assembly, electronics, soldering, 3D printing, and programming, students will gain hands-on experience in building a functional robotic accessory from start to finish.
This project bridges mechanical engineering, electronics, and computer science, providing a real-world learning experience similar to industrial robotics integration.
By completing this project, students will:
-
Robotics & Mechatronics
-
Understand the role of quick tool changers in industrial robotics.
-
Learn how to integrate mechanical, electrical, and software systems in a robotic environment.
-
-
Mechanical Skills
-
Assemble mechanical components, including 3D-printed parts and locking mechanisms.
-
Adjust tolerances, orientation, and printing parameters to ensure functional fits.
-
-
Electronics & Wiring
-
Wire and solder connectors (JST, plugs, cables) safely and accurately.
-
Verify electrical connections with a multimeter to prevent short circuits.
-
-
3D Printing & Design
-
Use 3D-printed custom parts (lever, lock, cover, adaptors) in robotic assemblies.
-
Apply design-for-assembly concepts, such as orientation and post-processing (sanding).
-
-
Programming & Control
-
Configure NiryoStudio to recognize and switch tools.
-
Write simple Blockly programs to automate tool changes.
-
-
Problem-Solving & Safety
-
Identify and correct common issues (tolerances, misalignment, electrical errors).
-
Apply safe practices in assembly, wiring, and robot operation.
-
- Enrolled students: 33
Robotic arm Ned2 gesture control with Arduino
- Content Type: Lab
- Programming: Arduino
- Equipment: Bundle discovery
Scenario :
The student discovers how to connect and communicate simple instructions between an Arduino and the Ned2’s Raspberry Pi. In this exercise, the Ned2 robotic arm, depending on the gesture made by the operator, carries out
different operations with bottles. The Robotic Arm is programmed with Blockly and the Arduino is programmed in C++.
This exercise simulates the interaction of an assembly line operator with a robot to optimize “TAKT TIME”.
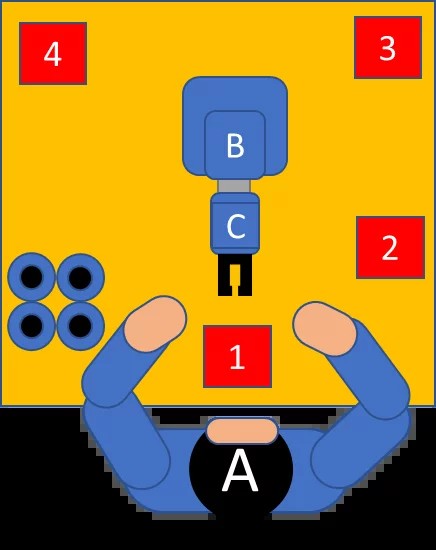
The operator works on an assembly line which prepares 3 products: Perfume, Cologne and Eau de Toilette. Depending on the preparation, the Ned2 robotic arm (B) must:
- In the case of perfume: take the bottle from position 1 and position it to the left of the operator in position 4.
- In the case of Cologne: take the bottle from position 1, move it from right to left and turn it several times, then position it to the right of the operator in position 2.
- In the case of an Eau de Toilette: take the bottle from position 1, shake it with the bottle horizontally and place it in the rear right corner of the table in position 3.
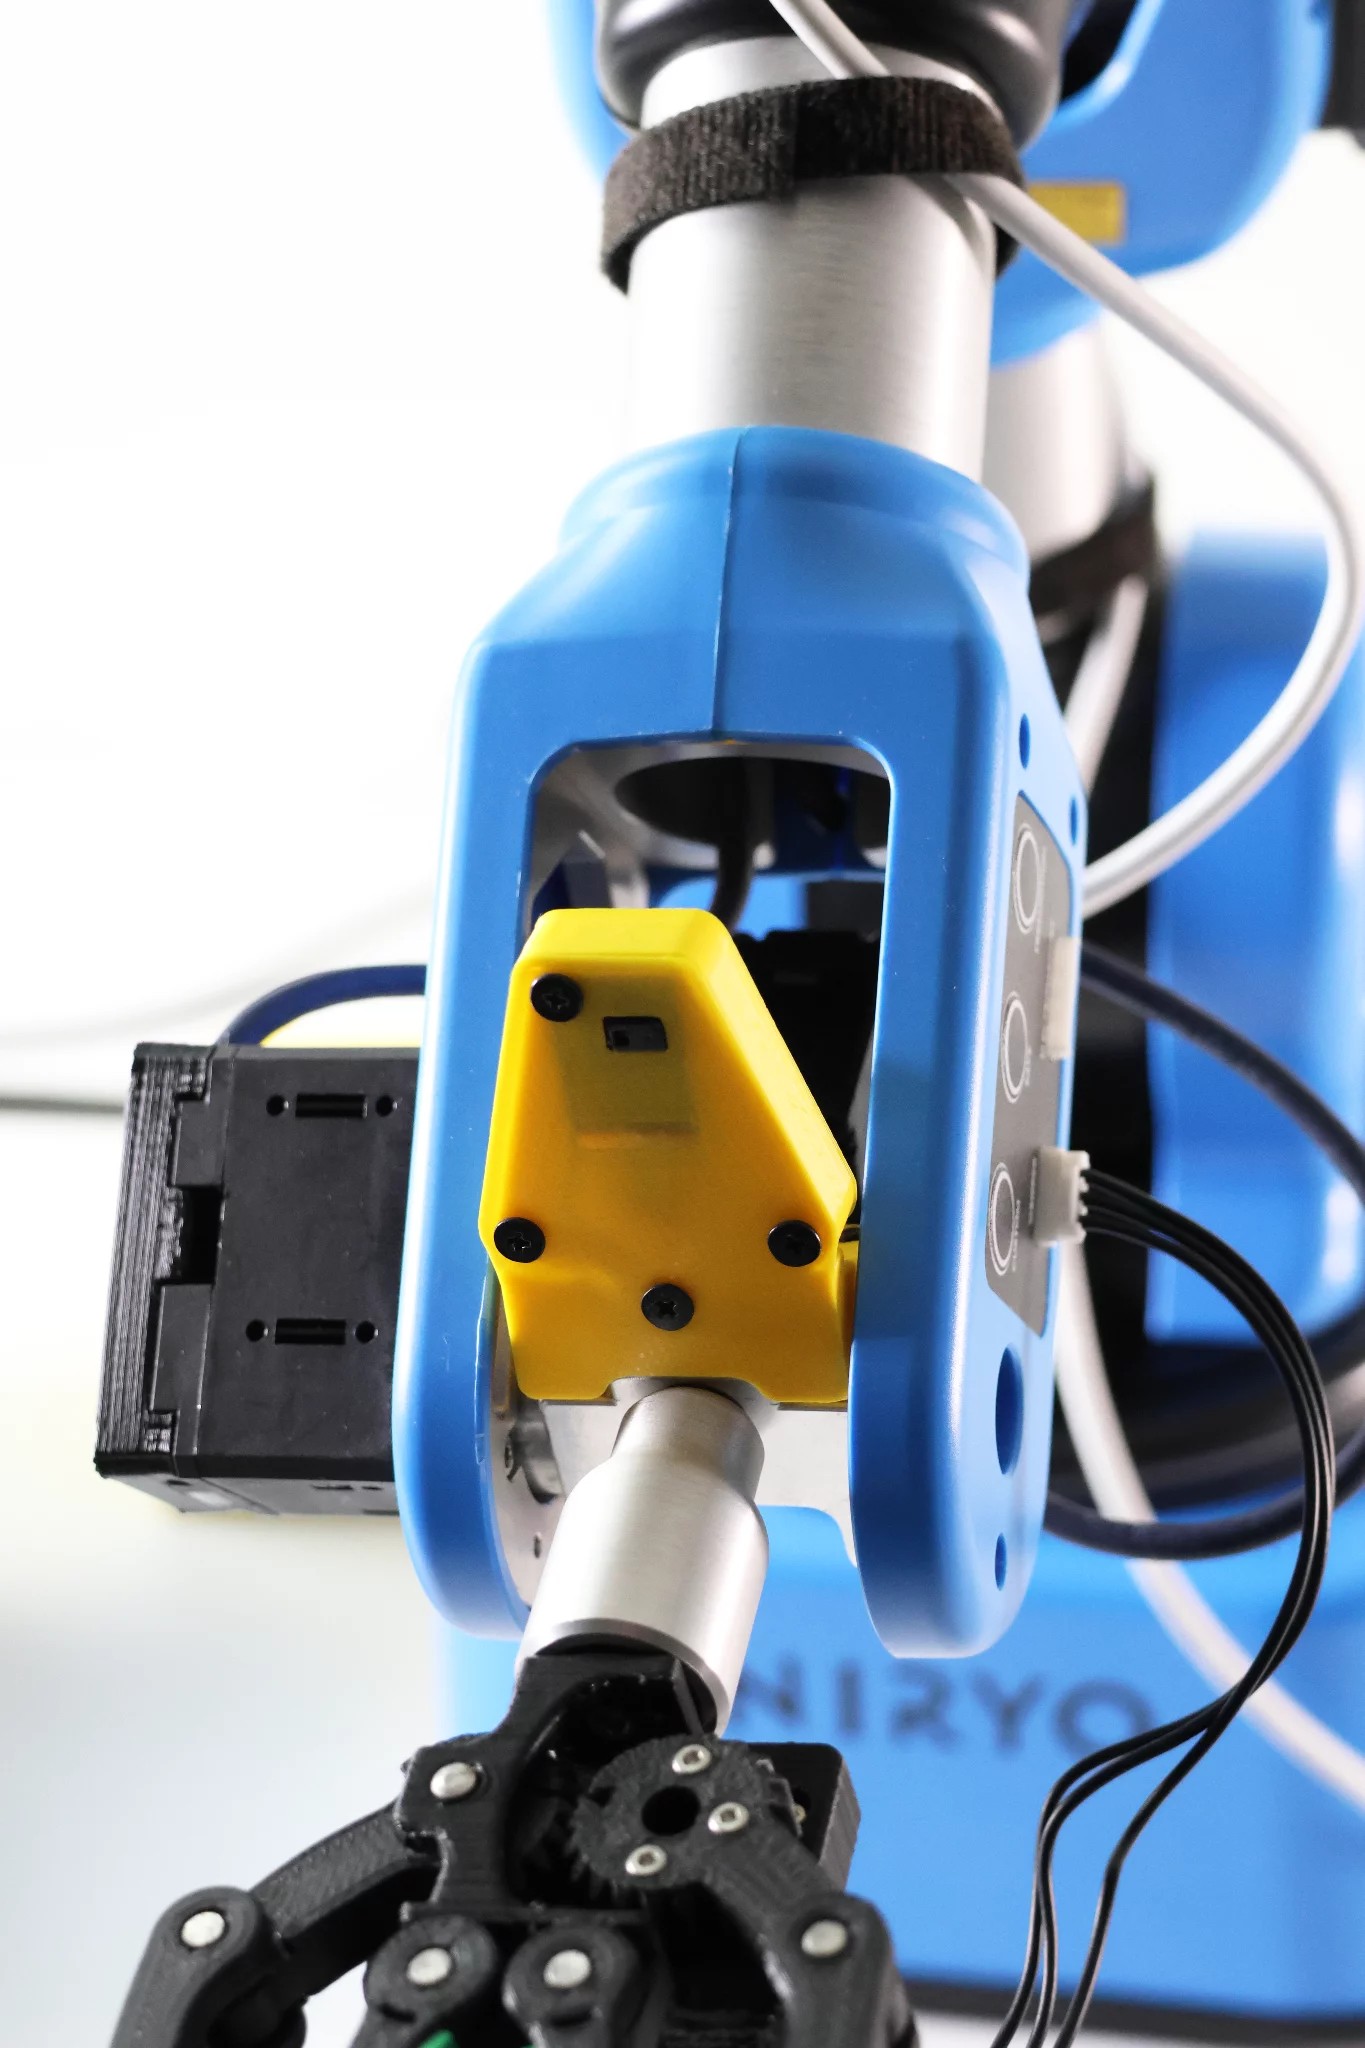
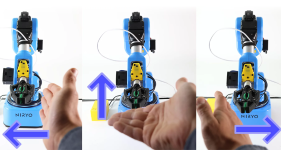
To indicate to the NED2 robotic arm to perform one of the three operations, the operator makes a hand gesture in front of the gesture sensor located on the NED2 robotic arm, a gesture which is interpreted by Ned2 Robotic Arm.
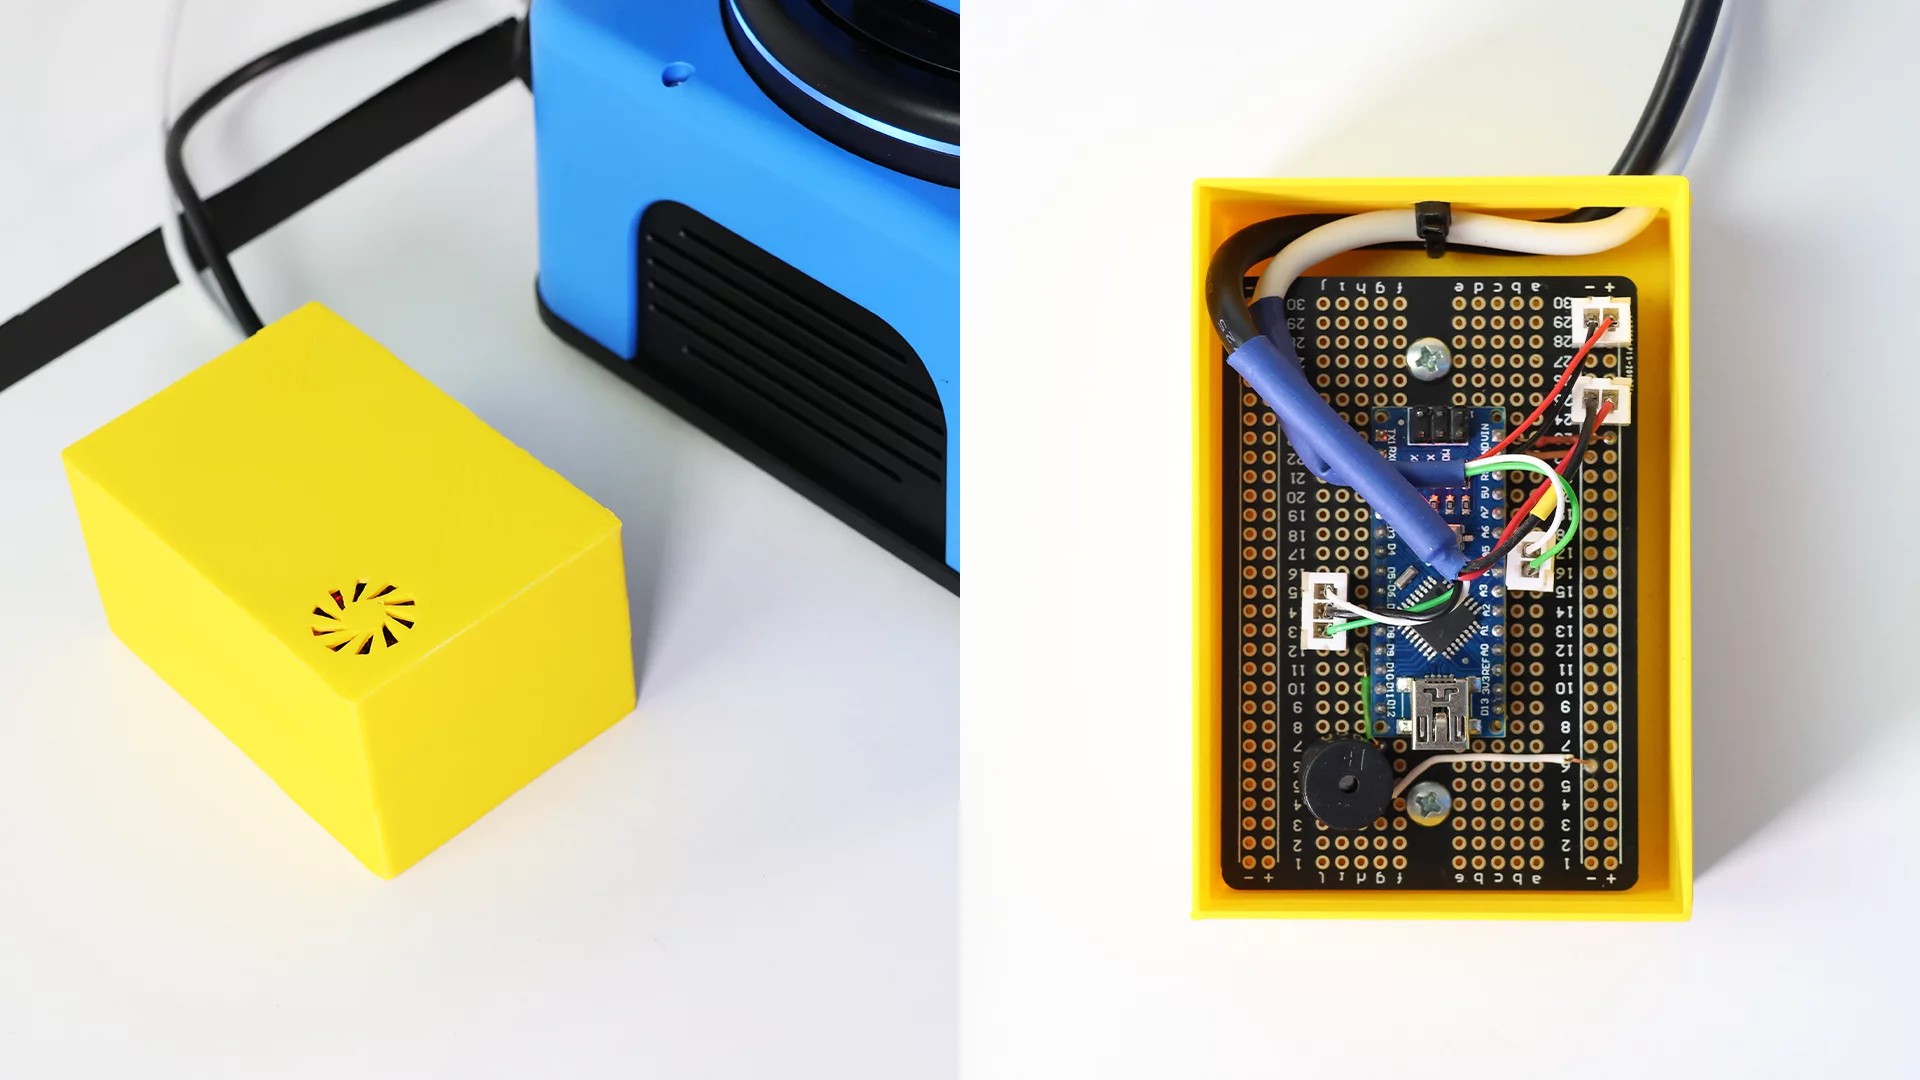
The gesture sensor is connected to an Arduino Nano and the Arduino Nano is connected to the digital pins on the back panel of the Ned2 robotic arm.
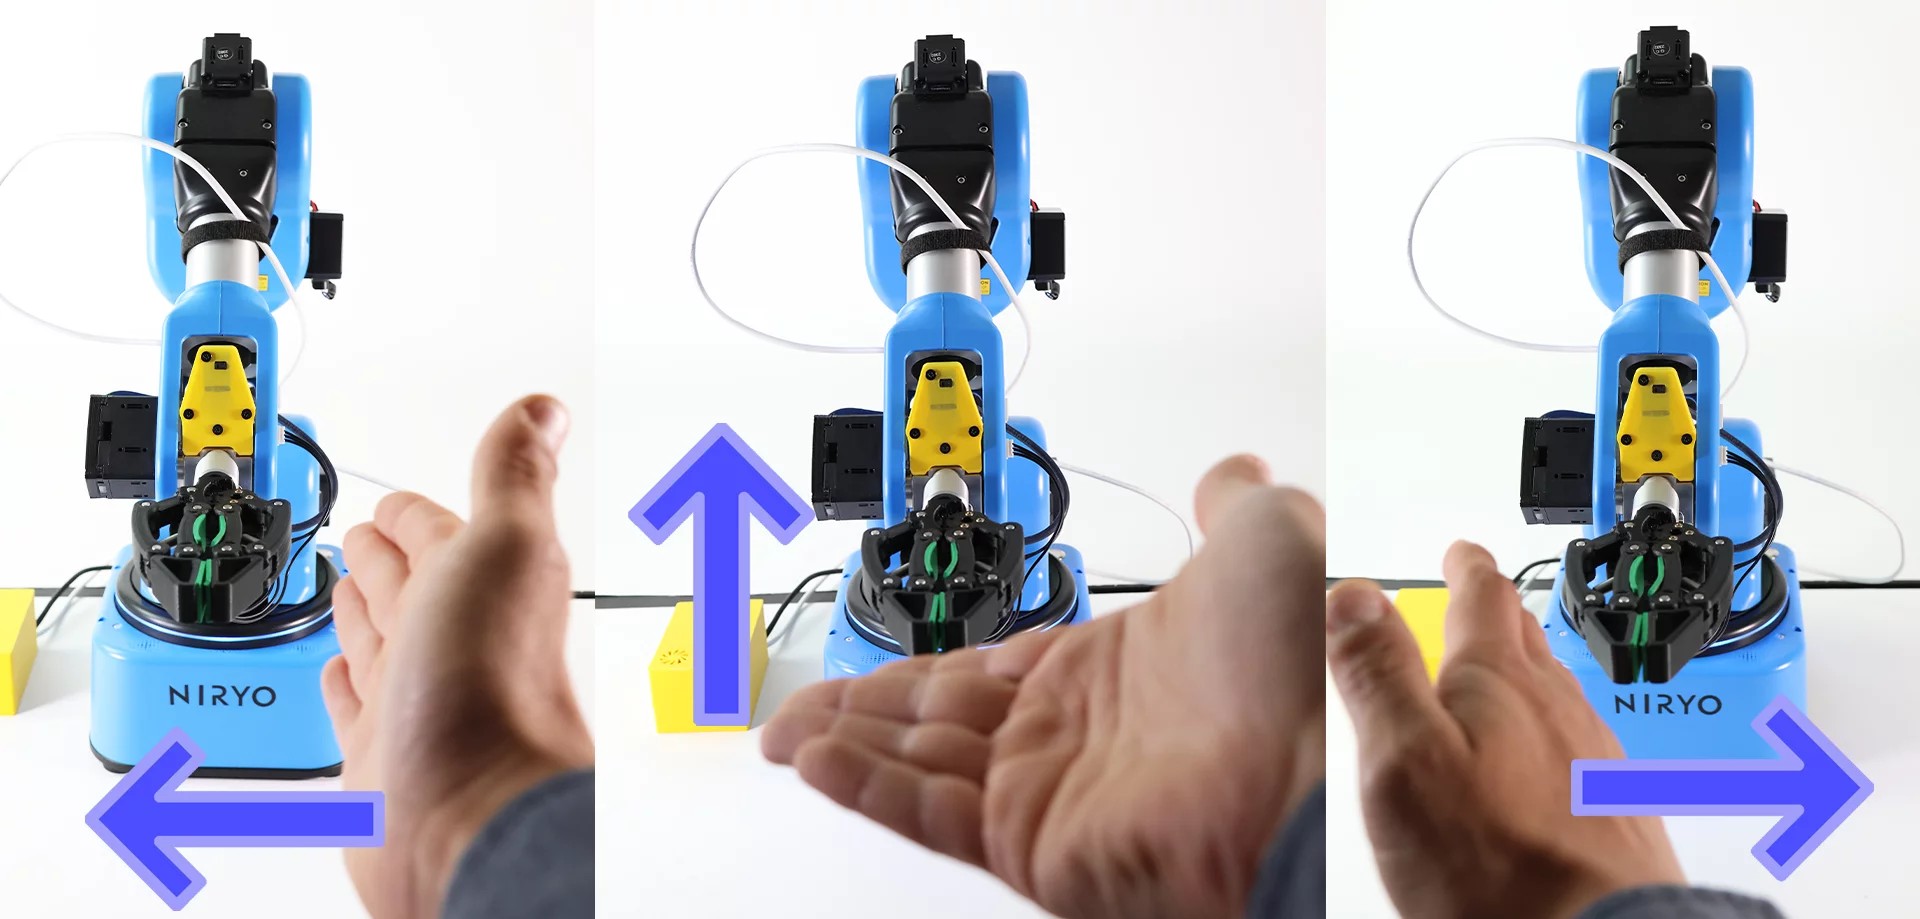
The gesture sensor is capable of interpreting 9 gestures:
- Up
- Down
- Left
- Right
- Forwards
- Backwards
- Clockwise rotation
- Counterclockwise rotation
- Undulation
In this exercise, we will only use 4 gestures:
- Up
- Down
- Left
- Right
There are two gestures, up and down, that we are going to use for the same movement of the NED2 robotic arm, since, during the tests, the operators did not remember whether they should move their hand upward or downwards.
Laboratory Content
Chapter 1: Discovering Blockly
- Blockly overview
Chapter 2: Creating the gesture recognition module
- Create an accessory for the NED2 robotic arm capable of giving orders to the NED2 Robotic Arm using an Arduino microcontroller and a PAJ7620 sensor
Chapter 3: Creating movement sequences for the NED2 robotic arm
- Create a sequence of trajectories
Required equipment
 Ned 2
Ned 2
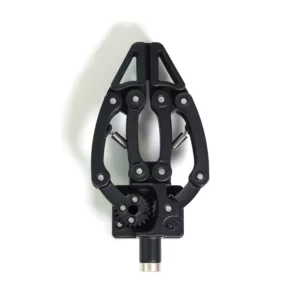 Adaptative Gripper (or other)
 NiryoStudio
![]() Arduino Nano
Arduino Nano
Other tools:
- 400 point prototype board (30 rows)
- Piezo Buzzer
- PAJ7620 motion sensor
- Male-male and male-female electric cables
Prerequisite knowledge:
The installation of the Arduino programming environment, as well as the uploading of the Arduino program is not explained in this document.
It is strongly recommended to complete the Blockly getting started lab and the Ned2 control lab with Arduino box before completing this lab if you are not used to using Blockly.
Setup:
- Place the Ned2 robotic arm on a table.
- The Ned2 robotic arm must have an obstacle-free perimeter of approximately 60 centimeters in radius.
- Connect the Ned2 robotic arm to the NED2 robotic arm safety box
- Connect the safety box of the NED2 robotic arm to the power supply of the NED2 robotic arm
- Connect the power supply of the NED2 robotic arm to the electrical network
- Connect the Ned2 robotic arm to NiryoStudio
- Connect the Arduino box to the Ned2 robotic arm (Once the box is mounted)
- Enrolled students: 30
Controlling the Ned2 with an Arduino based control box
- Content Type: Lab
- Programming: Arduino
- Equipment: Bundle STEM
Scenario
The student discovers how to connect and communicate simple instructions between an Arduino and Ned’s Raspberry Pi. In this exercise, the Ned2 robotic arm receives instructions from an Arduino to either bring vials back to an operator, or to take vials from in front of the operator, shake them, and place them in a box. The Robotic Arm is programmed with Blockly and the Arduino is programmed in C++.

The operator must fill vials, mix the contents in the vial by shaking it and then place the vials in a cardboard box.
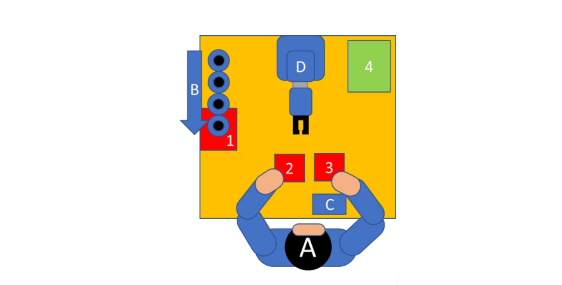
A: Operator of an assembly line,
B: Vial conveyor
C: NED2 robotic arm control box
D: NED2 robotic arm
1: Bottle holding area
2: Bottle placement area
3: Bottle holding and shaking area
4: Placement area for the stirred bottle (cardboard box)
If the operator touches button 1 of the control box, the robotic arm takes vials from zone 1 and places them in zone 2 until the operator touches button R.
If the operator touches button 2 of the control box, the robotic arm takes bottles from zone 3 and shakes them and places them in zone 4 until the operator touches button R.
If the operator touches the R button immediately after touching button 1 or button 2, the NED2 robotic arm only performs the chosen operation once.
Laboratory Content
Chapter 1: Discovering Blockly
Getting started with Blockly
Chapter 2: Creation of the NED2 robotic arm control box
Assemble a control box which will give orders to the NED2 Robotic Arm using an Arduino microcontroller and 3 capacitive buttons.
Chapter 3: Creating movement sequences for the NED2 robotic arm
Create a movement sequence in Blockly
Create the code interface between the Arduino block and the Ned2.
Required equipment
 Ned 2
Ned 2
 Adaptative gripper (or other)
 NiryoStudio
![]() Control box (to assemble)
Control box (to assemble)![]() Arduino Nano
Arduino Nano
Control box (to be assembled)
Arduino nano
Arduino Nano
Control box
Arduino Nano (the same code can be used on Arduino UNO or MEGA)
400 point prototype board (30 rows)
Piezo Buzzer
Green LED
Red LED
Two 220k resistors
3 TTP223B capacitive sensors
Male-male and male-female cables
3D printed case (Optional, model downloadable from docs.niryo.com)
Prerequisite knowledge
Basics of building electronic circuits.
The Arduino programming environment, as well as uploading programs to the Arduino board, which is not explained in this document.
It is strongly recommended to complete the Blockly introductory lab before completing this lab if you have never used Blockly before.
Setup
- Place the Ned2 robotic arm on a table.
- The Ned2 robotic arm must have an obstacle-free perimeter of approximately 60 centimeters in radius.
- Connect the Ned2 robotic arm to the NED robotic arm safety box.
- Connect the safety box of the NED2 robotic arm to the power supply of the NED2 robotic arm.
- Connect the power supply of the NED2 robotic arm to the electrical network.
- Connect the Ned2 robotic arm to NiryoStudio.
- Connect the Arduino box to the Ned2 robotic arm (Once the box is mounted).
- Enrolled students: 22


